© ROOT-NATION.com - Use of content is permitted with a backlink.
In this article, we will have a look at how to install ChromeOS Flex on any laptop. If you own an old laptop or a laptop that isn’t in use any more, installing ChromeOS Flex on it can help revive it back to life. Regardless of the operating system of the old laptop, you can easily install ChromeOS Flex on it and get all the latest updates that the operating system offers.
ChromeOS Flex is a secure cloud-based operating system that Google provides for PCs and Mac products. This operating system hit the launch stage back in the year 2022, and it has gained popularity since its launch. Ever since its launch, a lot of PC users have installed ChromeOS Flex on their old PCs and Mac products.
Now we’re here to show you how to install this cloud-based operating system on your PC or Mac. The steps involved here are simple, and the installation process can be done by anyone, including those who aren’t so tech-savvy. With the installation, you’ll be able to save your old laptop, or PC from becoming out of date about its software.
Read also: How to set up and reset your Chromebook
Step-by-step guide on how to install ChromeOS Flex on your PC or Mac

Before we get on with how to install ChromeOS Flex on your old system, there are a few things to take to mind. While Google offers ChromeOS Flex to all, there is a minimum system requirement for this operating system to function properly. The minimum system requirements for those looking to install ChromeOS Flex are as follows:
- Intel or AMD x86-64-bit
- 4GB RAM and 16GB internal storage capacity
- BIOS full administrator access
- Processors and graphics cards made before 2010
These specifications are easy to meet by a lot of systems that were manufactured within the last 10 years. So there’s a very high chance that your old Windows or Mac system will be able to run ChromeOS Flex. Once you’ve confirmed the system specifications of your old Windows or PC system, take the steps below to install ChromeOS Flex:
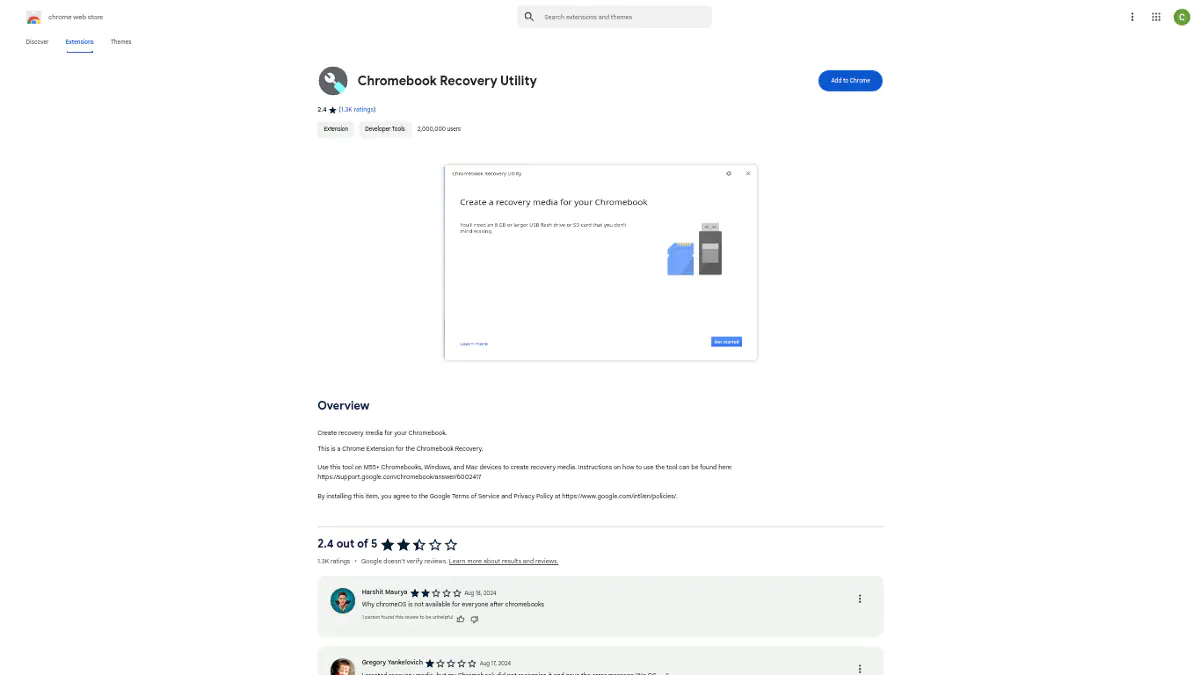
- Access the Chrome Web Store on your web browser
- Search for the Chromebook recovery utility
- Next, click on the “Add to Chrome” button
- This will pull up a popup page where you are to click on the “Add Extension” button
- Now the Chromebook recovery utility extension will be saved on your browser, and you can continue the process from there

Read also: How to check website RAM usage on Chrome
For the next step, you’ll need to get yourself a flash drive or a memory card. This will be where the tool for installing ChromeOS Flex will be stored. Once you’ve got the flash drive or memory card, you can take the steps below:
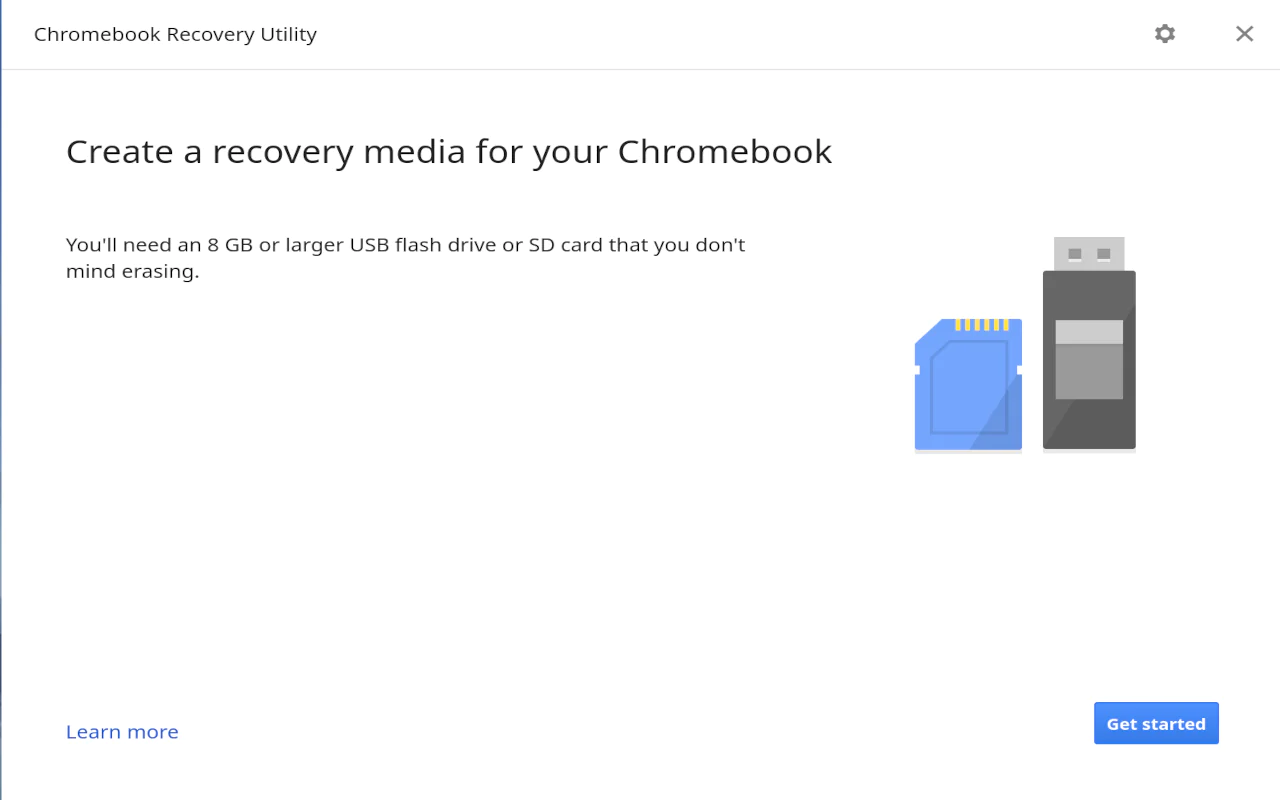
- Access the Chromebook recovery utility via the extension page from the browser tab
- Now click on the “Get Started” button
- Next, click on the “Select a model from the list”
- Click on “Select a manufacturer” and then select ChromeOS Flex
- Now click on continue and insert your USB flash drive or SD card
- Once you plug in your drive to your laptop, select it from the list that pops up and hit continue
- On the next page, select Create now and the installation into your USB flash drive or SD card will commence.
Now, you’ve successfully installed ChromeOS Flex into your USB flash drive or your SD card. To install ChromeOS Flex from your USB flash drive or SD card to your laptop, plug it into your laptop’s corresponding port. Once it’s plugged in, restart your laptop or PC and press the boot menu key repeatedly (you can check for the boot menu key to be sure).
Now select the drive option that you placed in the USB flash drive or SD card slot. This will take you to the CloudReady 2.0 interface, where you can install ChromeOS Flex or try it out. Once you install the software, the Windows or macOS software on your laptop will be replaced with ChromeOS.
Read also:

