© ROOT-NATION.com - Use of content is permitted with a backlink.

Whether sharing memories with friends, showcasing products for a business, or capturing moments for professional photography, clarity is a paramount criterion of high-quality images. Achieving perfectly clear photos during shooting is not always possible, especially when using a smartphone camera. Photos can sometimes turn out blurry due to movement, poor lighting, or focus issues.
Can you fix a blurry photo on an iPhone? Sure, you can, and this article aims to teach you how to do it quickly and easily. We will explore the capabilities of the built-in iPhone photo editor for sharpening your photos. Additionally, we will observe some third-party apps available on the Apple App Store to bring your shots back to life.

Tools and Apps for Unblurry Pictures
Built-in iPhone Tools
The native Photos app on an iPhone is a starting point if you want to understand how to make a blurry picture clear on an iPhone. This app has an intuitive interface, understandable even for inexperienced users.

Built-in options that can significantly improve the clarity and detail of your photos. However, for those looking to take their photo editing to the next level, several third-party apps can offer enhanced capabilities. Below, we provide several examples of such apps.
Luminar Mobile
This AI-driven photo editor for iPhone adjusts sharpness automatically based on the context of your initial image. Additionally, you can enhance the detail, texture, and features of your subjects. Experiment with presets, effects, filters, and AI-driven retouching tools to achieve perfection.

Advanced functions take time to master. Many professional-grade tools are available only through in-app purchases.
Lightroom Mobile
The mobile version of this premium-class software supports RAW format and cloud synchronization across devices. The sharpening settings are customizable for better control.

The learning curve may be quite steep, especially for beginners. To access the full feature set, you need a paid subscription.
Snapseed
This free image-enhancing app includes an intuitive sharpening tool and a selective adjust tool, which allows users to pinpoint areas in the photo for precision.

The interface is less intuitive than in other apps. It might take some time to learn to navigate the software properly.
VSCO
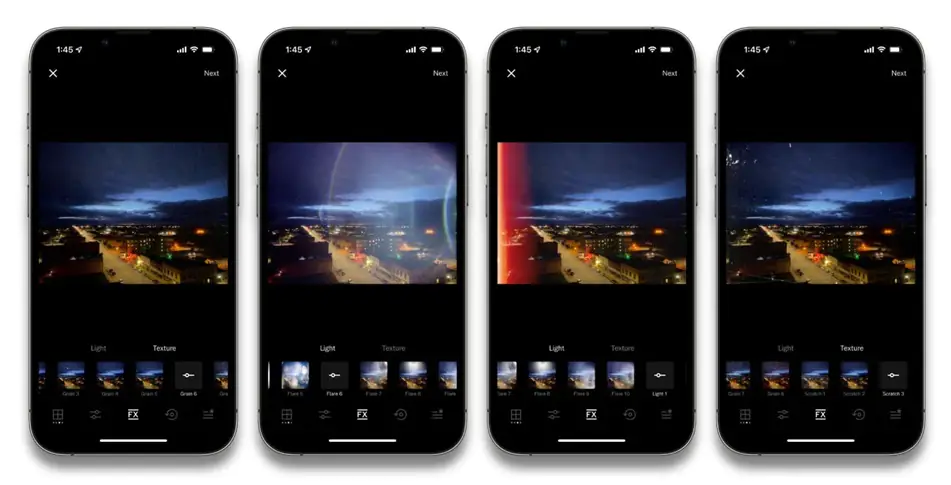
This app combines a social media platform with editing capabilities. Its sharpening tools are effective and easy to use. In addition, it includes a set of film-like filters for an artistic vibe. VSCO is very straightforward, making it ideal for quick edits.

The toolkit is limited compared to apps dedicated specifically to photo editing. Most image-modifying functions are available only via paid membership.
Pixelmator
This professional-grade application with robust editing capabilities includes an excellent sharpening tool that allows for precise control over the sharpness of your images. It has a layer-based editing function for advanced enhancements. It supports RAW file editing and integration with iCloud for seamless integration across devices.
![]()
The learning curve may overwhelm novice photo editors. Taking full advantage of all the capabilities requires some learning and experience. This application has no free version, so it requires financial investments.
How to Sharpen a Picture on an iPhone: Five Easy Steps
- Open the photo you want to sharpen in the built-in editor or import it to the previously installed third-party software of your choice.
- Access sharpening tools. In the iPhone Photos app, you need to enter the “Edit” mode in the top right corner of your picture first. Then click the dial icon to access the adjustment tools, and select “Sharpness.” As for the third-party applications, the tools you need might be under detailed editing options labeled as “Sharpen,” “Clarity,” or similar terms.
- Adjust sharpness settings. Use the app’s sharpening slider to carefully adjust the level of sharpness. Some apps offer advanced features like masking or selective sharpening. Use them if you need to sharpen only certain parts of your image without affecting it as a whole. Apply adjustments cautiously to avoid digital noise and unwanted artifacts.
- Try additional features. Explore other related adjustments. Detail enhancement, noise reduction, and edge contrast can further refine your image. For instance, you can adjust the “Definition” slider in the built-in app to add depth and texture. Modifying the “Contrast” can further define the edges and make the photo pop.
- Preview and save. Review your changes using any before and after views the app provides. Ensure the adjustments modified your photo as intended. If not, continue working on it until you are satisfied with the result. Once you are done, save the picture in your chosen format and share it with others if you want to.
Conclusion
As we have explored, the iPhone itself is equipped with powerful built-in tools that make it straightforward to enhance image sharpness. For those seeking even more control and precision, various third-party apps like Luminar Mobile, Lightroom, Snapseed, VSCO, and Pixelmator offer advanced features catering to beginners and advanced users alike. We encourage you to experiment with both the native editing features of your iPhone and the rich functionalities of third-party apps. With practice, enhancing your photos becomes a quick, satisfying part of your photography workflow. Grab your iPhone, start snapping, and use these tips to ensure every picture you take tells a story as clear as day!


This article provides an excellent overview of sharpening photos on an iPhone, covering both built-in tools and powerful third-party apps. The detailed steps for using the iPhone’s native editor make it easy for beginners to improve photo clarity, while the recommendations for apps like Luminar Mobile, Lightroom, Snapseed, VSCO, and Pixelmator offer advanced options for more experienced users. The focus on specific features such as AI-driven enhancements, RAW support, selective adjustments, and layer-based editing ensures readers can find the best tool for their needs. Whether you’re a casual photographer or a pro, these insights are invaluable for refining your images. Great job!
100 % right