© ROOT-NATION.com - Use of content is permitted with a backlink.
Are you getting into photography and looking to make use of the Adobe Lightroom mobile platform? If yes, then this article is for you, as it will show you how to make use of the photo editing app as a beginner. In this article, we’ll not only look at how to make use of the Lightroom app, but we’ll also show the system requirements for usage of this platform.
This article will show you how to upload photos from your device to Adobe Lightroom for edits. It’ll also show you how to save your edits, share your edits, and export your edits. Organizing your photos in Adobe Lightroom is also important, as it helps you to easily find photos when you need them, and you’ll see how to do this in this article.
Adobe Lightroom is a powerful tool that most photographers go to for image edits. This is because the platform offers a lot of impressive features that everyone can easily use. Now that you’re ready to start your photography journey with Adobe Lightroom, here’s a quick guide to help you.
Read Also: How to check website RAM usage on Chrome
Adobe Lightroom system requirements

Before you kick off editing your photos on Adobe Lightroom, you need to make sure that you have the right system. This means ensuring that your system meets the requirements of the Adobe Lightroom platform. However, you might ask yourself how you will know what system requirements Adobe expects users to attain.
The system requirements for Adobe Lightroom vary from one platform to the other. If you’re editing using a Windows system, you’ll need one with a 64-bit processor, runs Windows 10 or above, has a minimum of 8GB RAM, and at least 2 GB VRAM for the GPU. The requirements for macOS systems are similar, except that the system should run on macOS Monterey or above (these won’t be considered in this article).
For mobile users, your Android device must run Android 8 or above with 4 GB minimum RAM, 32 GB minimum storage, and a quad-core processor. As for our iOS buddies, you’ll just need to ensure that your iPhone or iPad is running on iOS 16 or iPadOS 16 or above. Once you can confirm that the device you’re using meets any of these conditions, then you’re good to go.
Read Also: How to use Spotify Jam
How to make use of Adobe Lightroom for mobile as a beginner
In this guide article, we’ll focus on learning how we can make use of the Adobe Lightroom platform. This guide won’t touch on how to make use of the various tools within the platform. So this guide will just touch on the basic controls of this platform and by using its tools, your creative sense can guide you.
We’ll show you how to upload photos from your device, save the edits you make, share these edits, export your edits, and organize your files. These are some of the basic controls that you need to learn when kicking off your usage of the Adobe Lightroom platform. Here are quick guides on how to perform the various actions previously stated, starting from uploading photos:
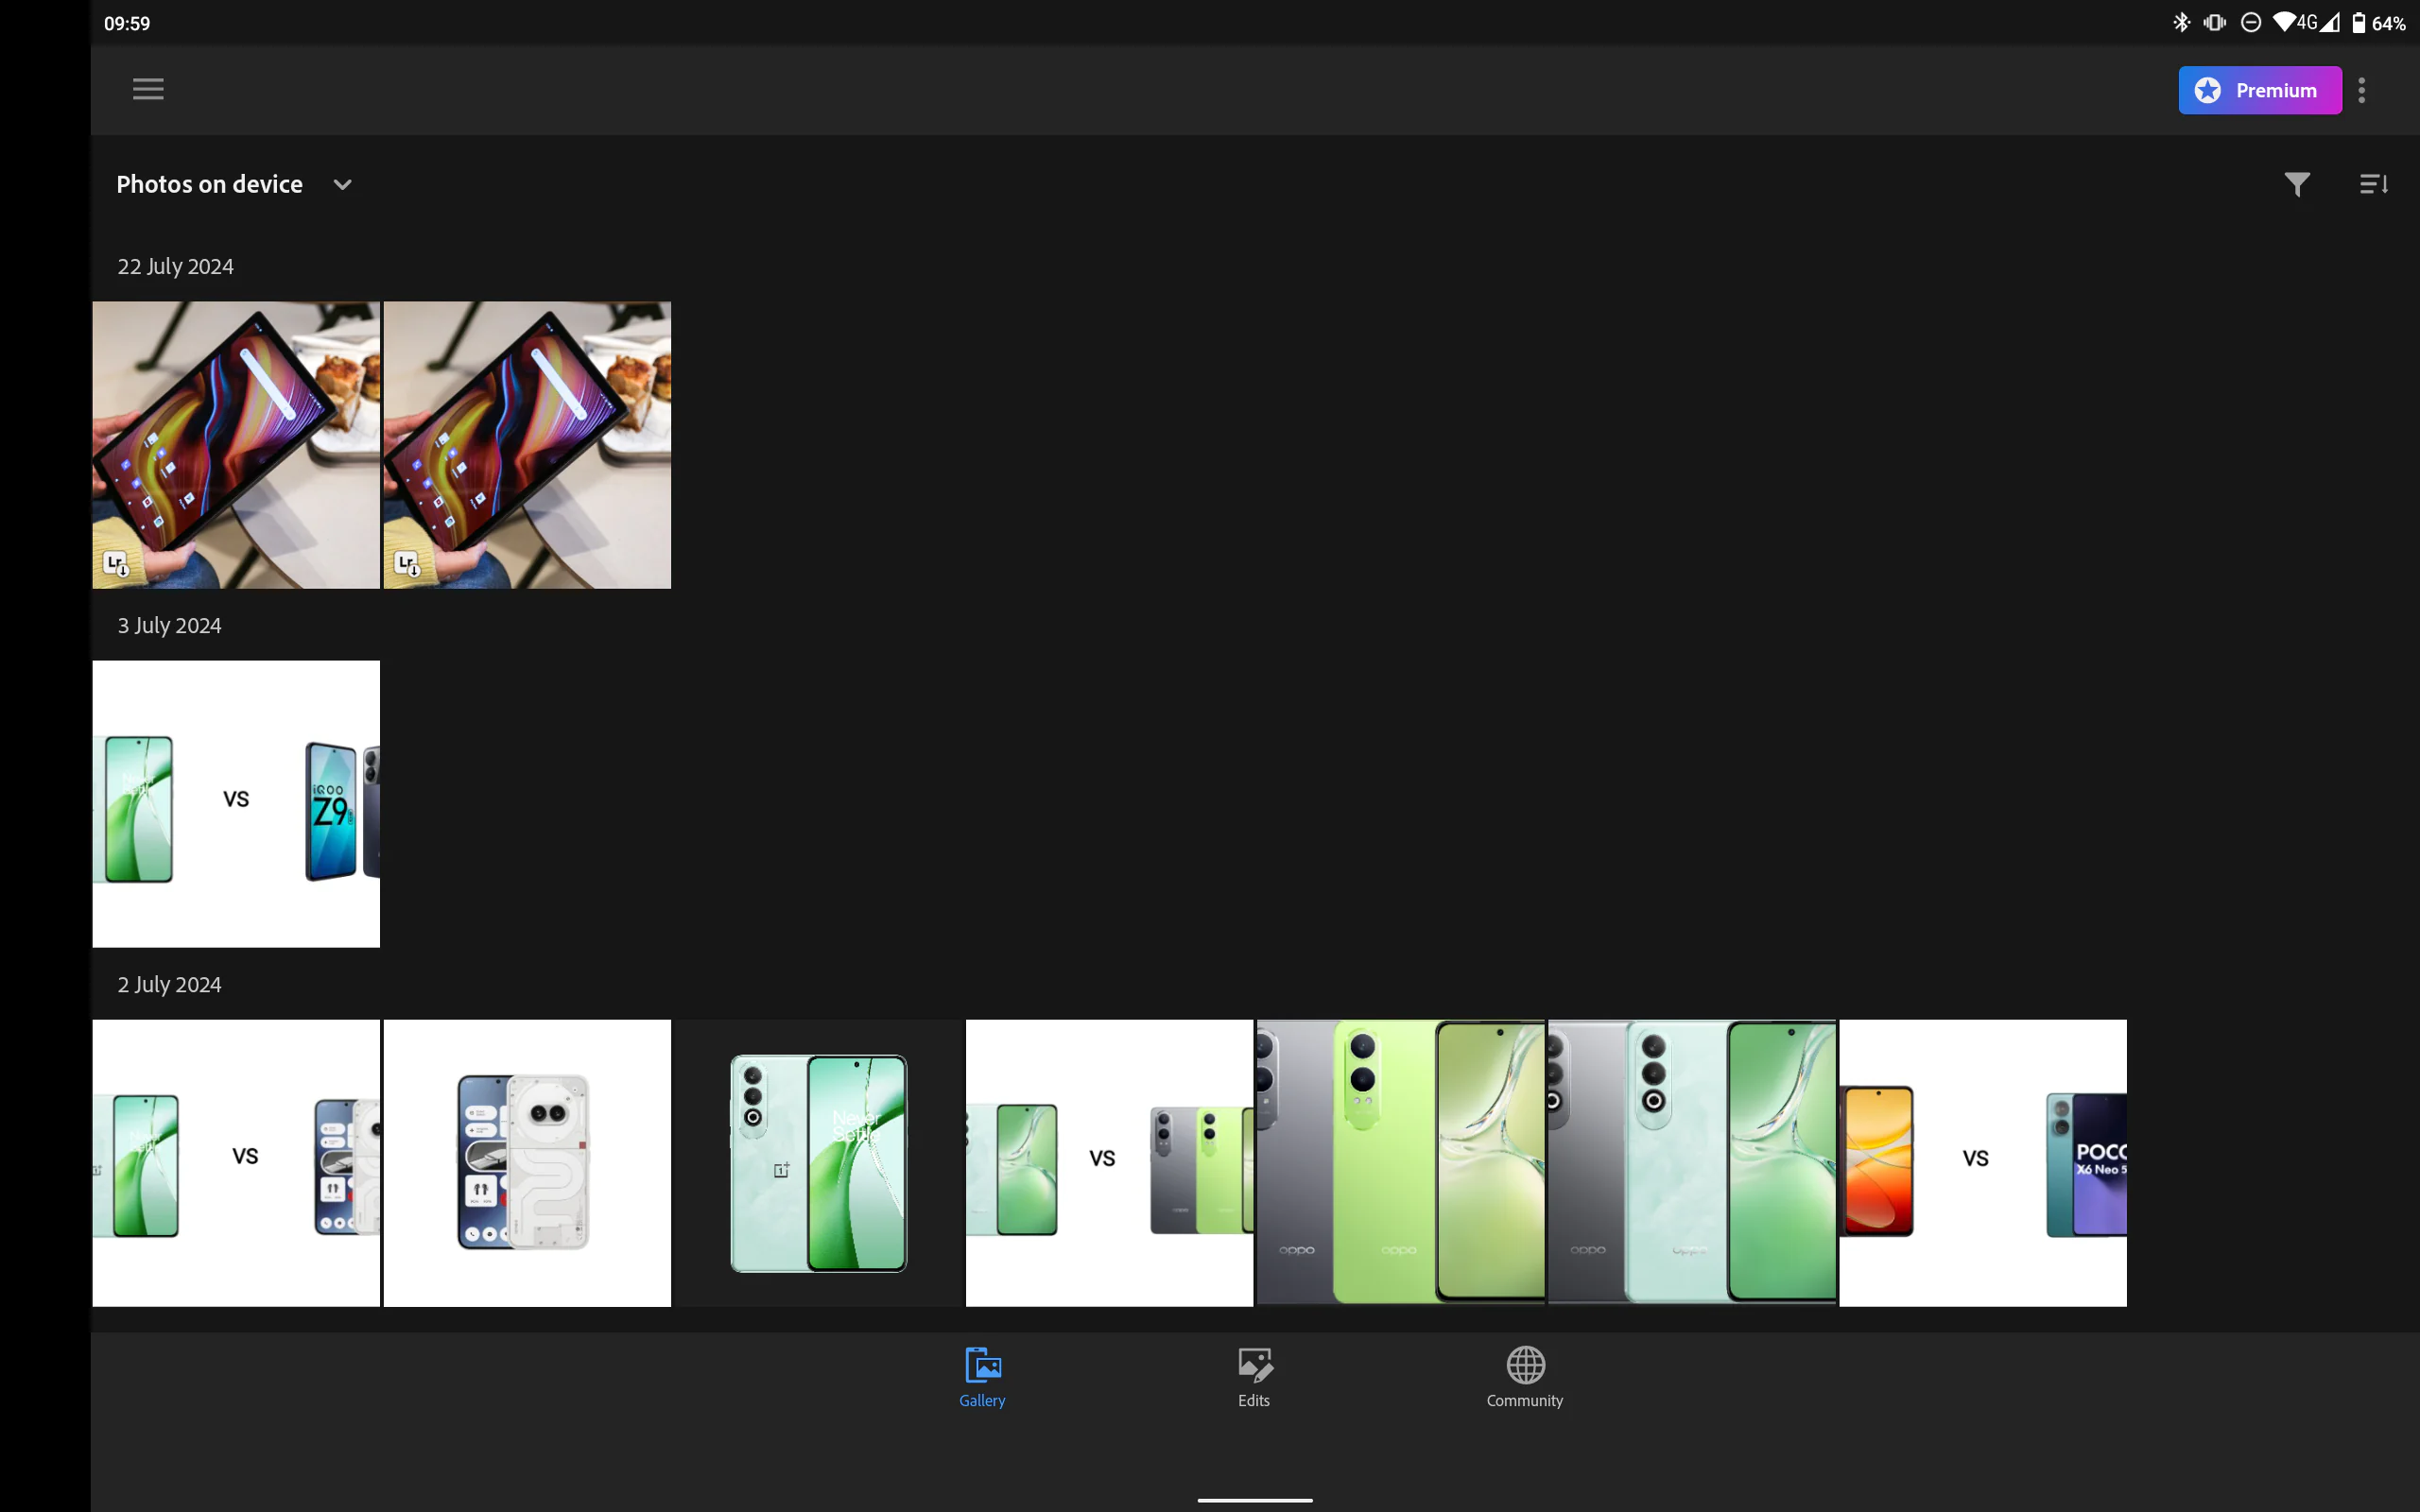
- If you’re making use of the most recent version of Adobe Lightroom, then you can give the platform permission to access the media files on your device
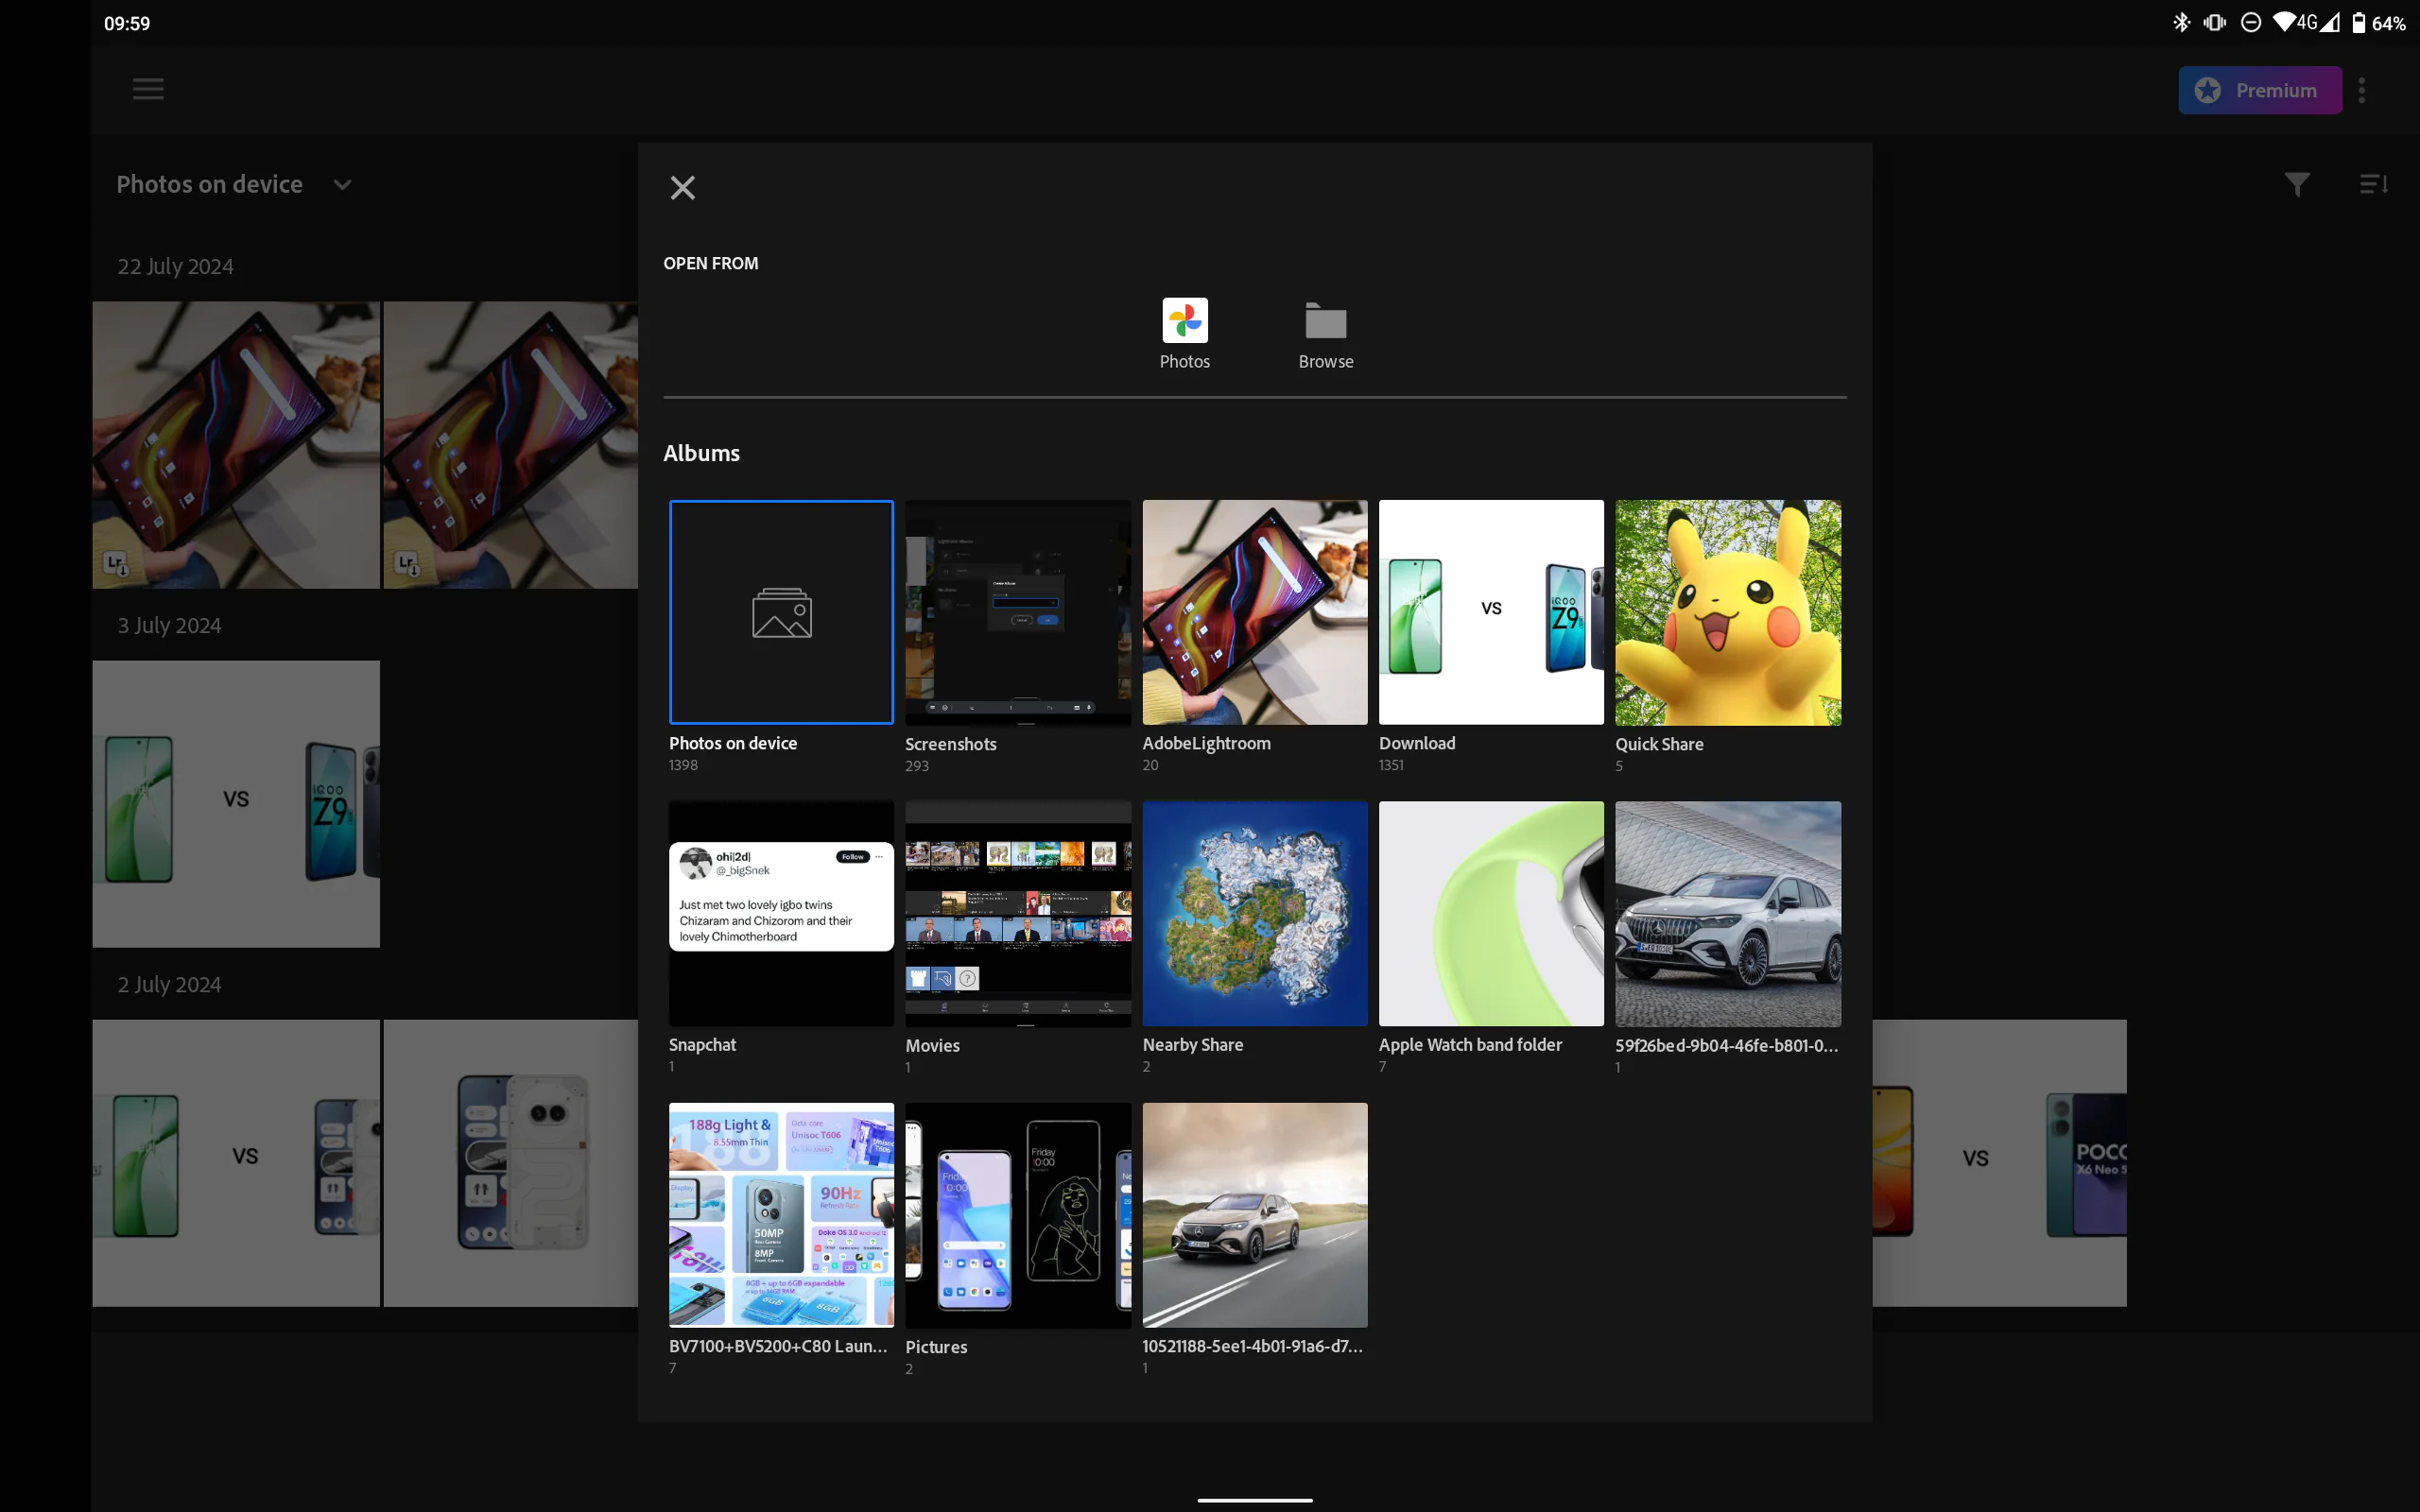
- If you have an external source to add images from, you can tap on the drop-down at the top left-hand side of the interface
- From here, you can pick the file location where you want to import images from
- Now simply tap on the image that you wish to work on
- You’ll find all your edited images in the edit tab on the bottom navigation bar
- From here you can also click on the dropdown to access all your media files.
Making use of the premium version of the platform gives you access to take pictures using the Adobe Lightroom camera feature. Now that you have uploaded your image and edited it, it’s time to save your edit. To do this, take the following steps:
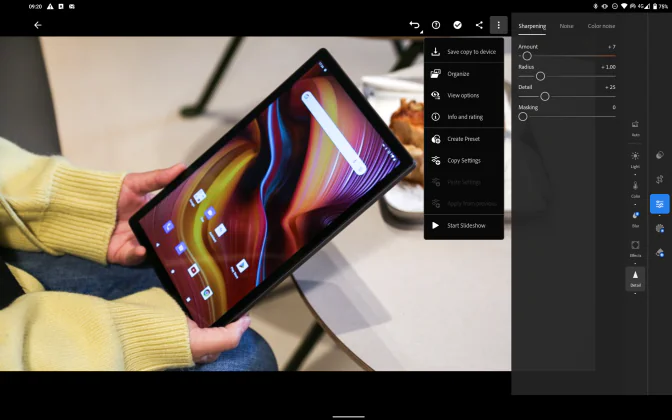
- Once you’re done with an edit, click on the three dots at the top right-hand side of the interface
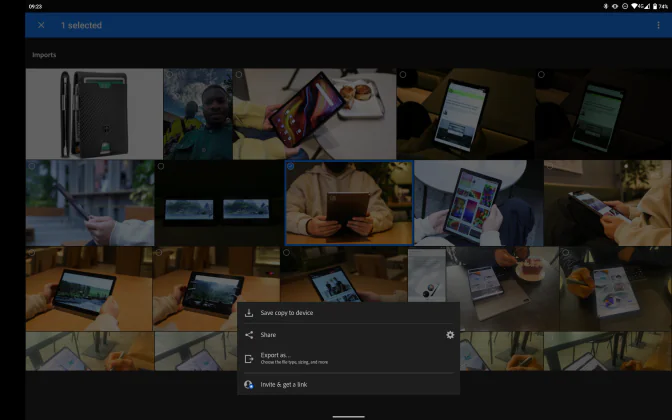
- Next, click on the “Save copy to device” option
- The image will be saved to your device.
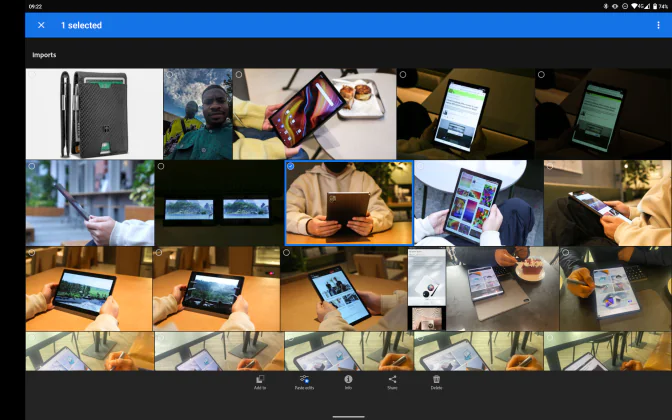
To share your edit, hold down on the image in the gallery layout to select it. Next, tap on the share icon at the option tab at the base of the interface. You’ll get a pop-up menu, from here you can save it to your device or share it with another device.
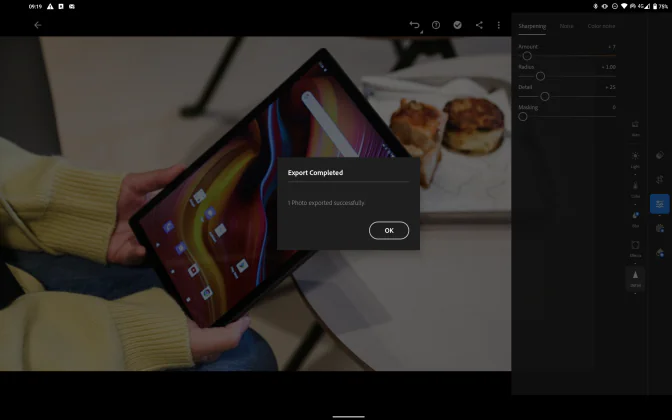
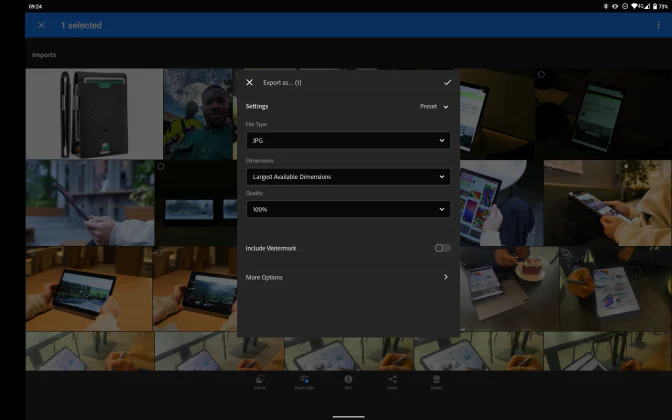
You take the steps above to export your image as well, but from the pop-up menu select the “Export as” option. This will pull up a setup page for you to set up the image in the format you want it to be before you export it. Once you’re done with the setup, hit the check mark at the top right-hand side of the setup page.
To organize your files, take the following steps:
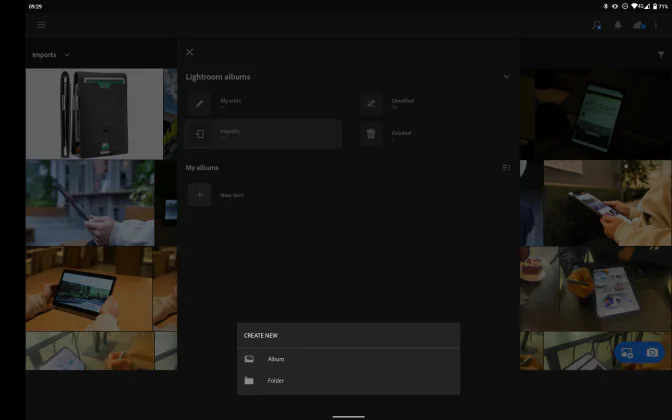
- Tap on the edits button on the navigation tab at the base of the Adobe Lightroom interface
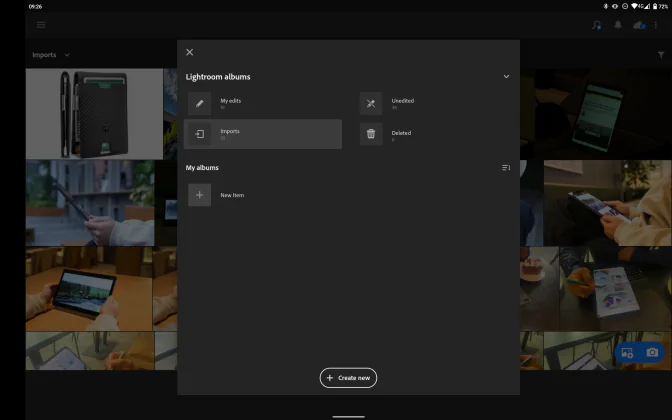
- Next, tap on the “Imports” drop-down menu
- You can then tap on the “Create new” button
- Choose what you want to create, an album or a folder
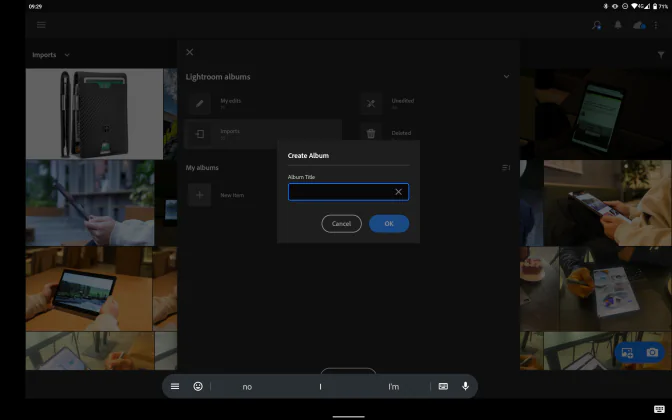
- Give your album a title
- Save it and add images to it.
By doing this, you’ll be able to organize your Adobe Lightroom images into various folders for easy access. To get to these folders, simply click on the imports option, and you’ll find all your saved albums and folders. To save images on Adobe’s cloud service, you’ll need to subscribe to the platform’s premium service.
Your subscription will unlock more benefits for you as a user of the platform. If you’re just making use of the platform for basic services, then the free version will be fine. The guides in this article will help you better navigate the platform during usage.
Read Also:


