© ROOT-NATION.com - Use of content is permitted with a backlink.
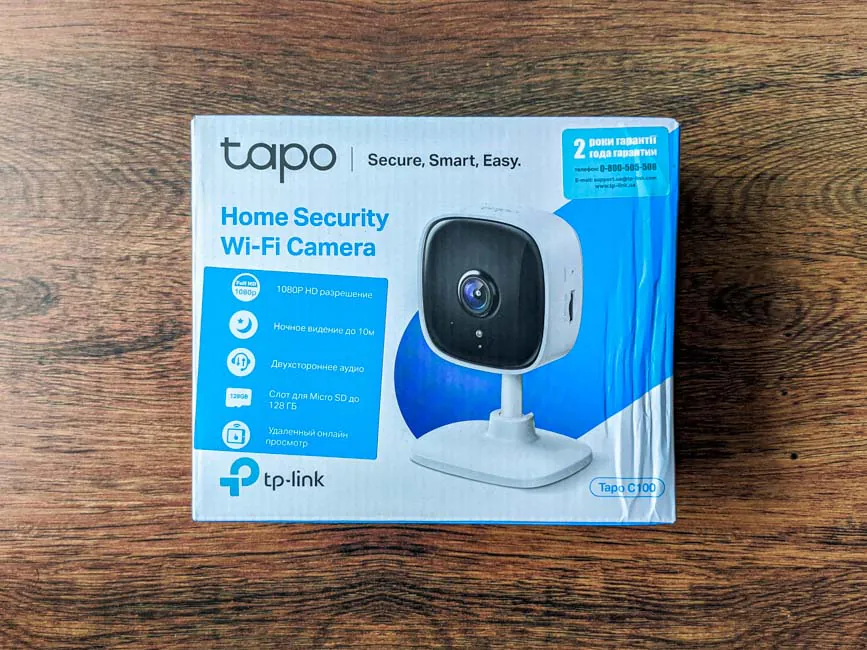
Not so long ago, the world-famous manufacturer of network equipment TP-Link announced the launch of a new line of home devices called Tapo. Today we’ll talk about TP-Link Tapo C100 Wi-Fi camera.
TP-Link Tapo C100 specs
| ACTIVITY NOTIFICATIONS | |
|---|---|
| Input Trigger | Motion Detection |
| Notification | Send Notification |
| VIDEO | |
|---|---|
| H.264 video compression | H.264 |
| Video streaming | 1080p |
| SYSTEM PARAMETERS | |
|---|---|
| Certification | FCC, IC, CE, NCC |
| System Requirements | IOS 9+, Android 4.4 and up |
| ENVIRONMENTAL PARAMETERS | |
|---|---|
| Operating temperature | 0-40 °C |
| Storage Temperature | -40-70 °C |
| Operating Humidity | 10-90% RH non-condensing |
| Storage Humidity | 5-90% RH non-condensing |
| WHAT’S IN THE BOX | |
|---|---|
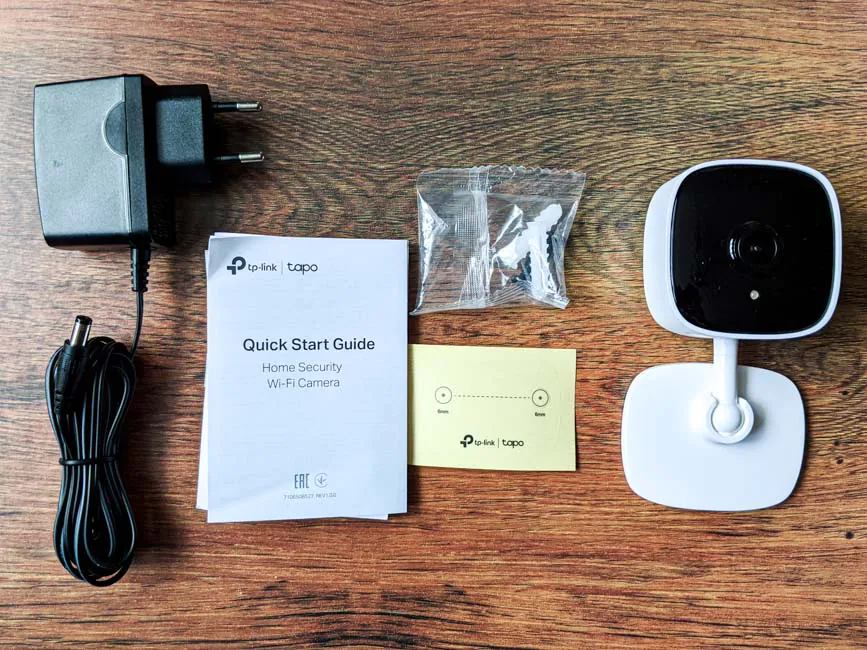
| In the box | Tapo C100 Camera DC power adapter Getting Started InstructionsMounting Screws Mounting template |
| HARDWARE | |
|---|---|
| Buttons | Factory Reset Button |
| LED indicator | LED |
| Input current | 100-240 VAC, 50/60 Hz, 0.3 A |
| Output current | 9,0 В / 0,6 А |
| Dimensions (W x D x H) | 67,6 × 54,8 × 98,9 mm |
| Security camera | |
|---|---|
| Image sensor | 1/3.2“ |
| Resolution | 1080p Full HD |
| Lens | F/NO Lens: 2.0, Focal Length: 3.3mm |
| Night vision | 850 nm night vision IR LED (up to 9 meters) |
| AUDIO | |
|---|---|
| Connection | Two-way sound |
| Audio input and output | Built-in microphone and speaker |
| NETWORK | |
|---|---|
| Security | 128 bit AES SSL/TLS Encryption |
| Wi-Fi speed | 11 Mbps (802.11b) 54 Mbps (802.11g) 150 Mbps (802.11n) |
| Frequency | 2,4 GHz |
| Security Standards | WEP, WPA, WPA2-PSK |
Cost
The recommended retail price for a camera is $37. TP-Link Tapo C100 is covered by a two-year warranty, as is the case with all other devices of the company.
What’s in the box
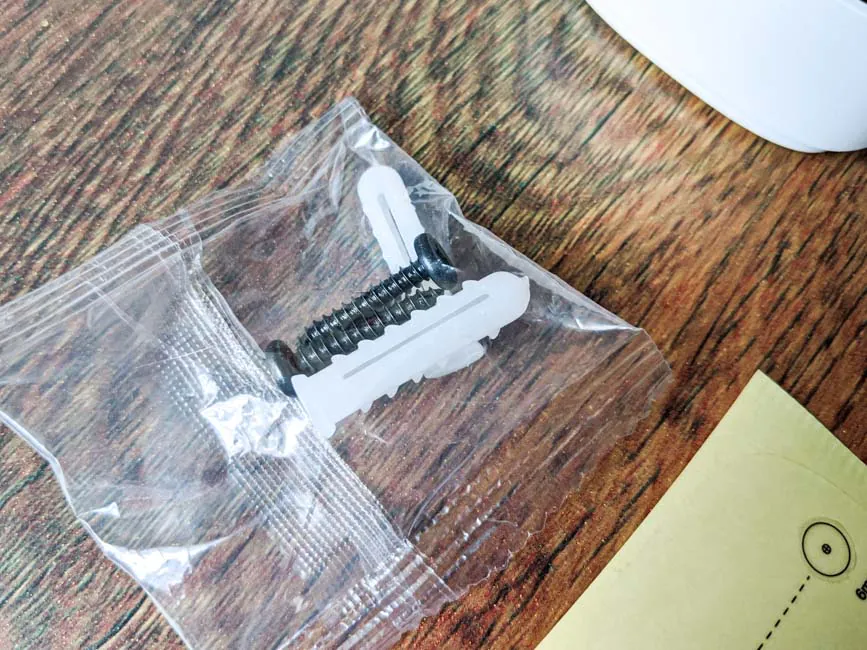
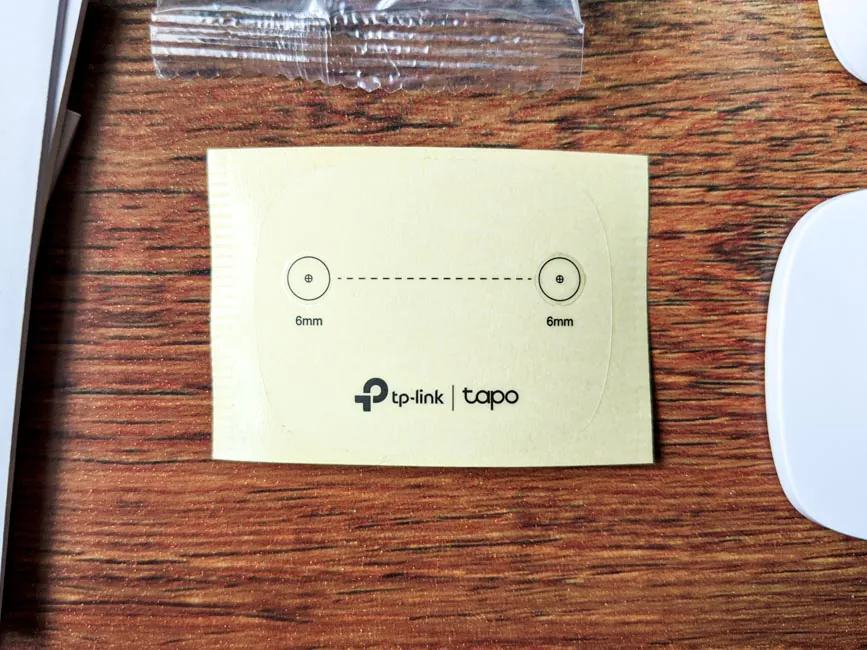
TP-Link Tapo C100 comes in a small cardboard box, in which, in addition to the camera itself, there is a power adapter (9V/0.6A) with a long cable which is about 3 meters. There we find two fixing screws with dowels, an installation template and a set of documentation.
Appearance and elements configuration
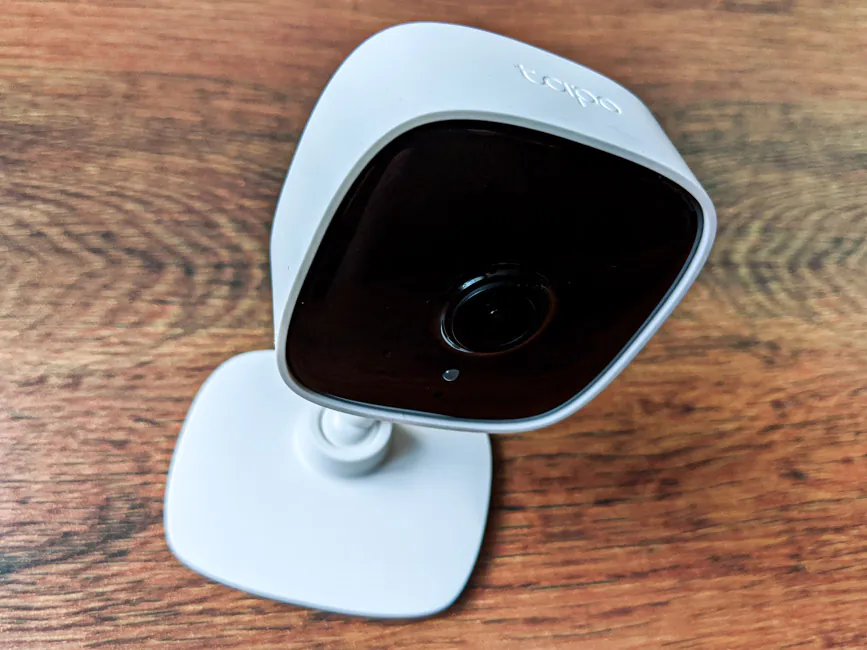
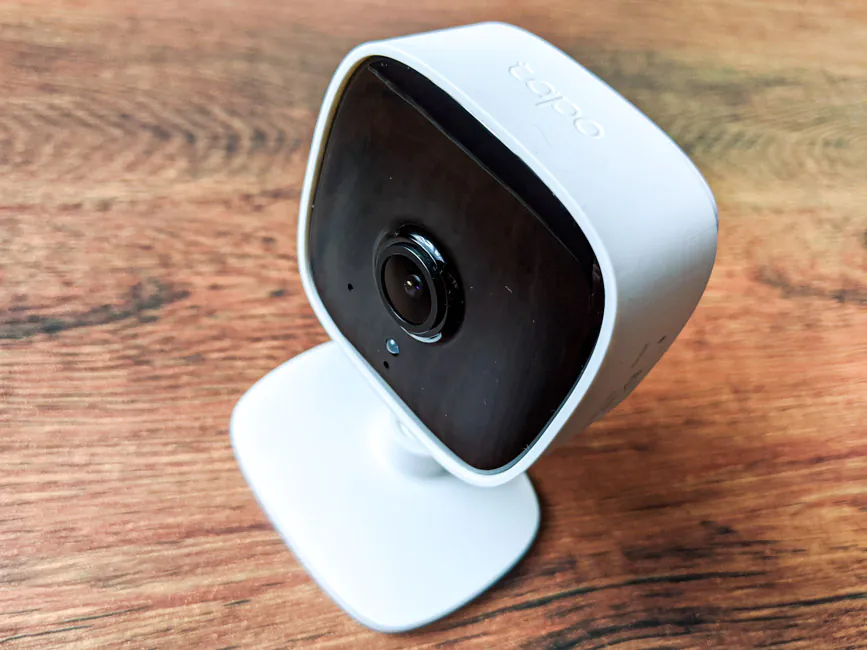
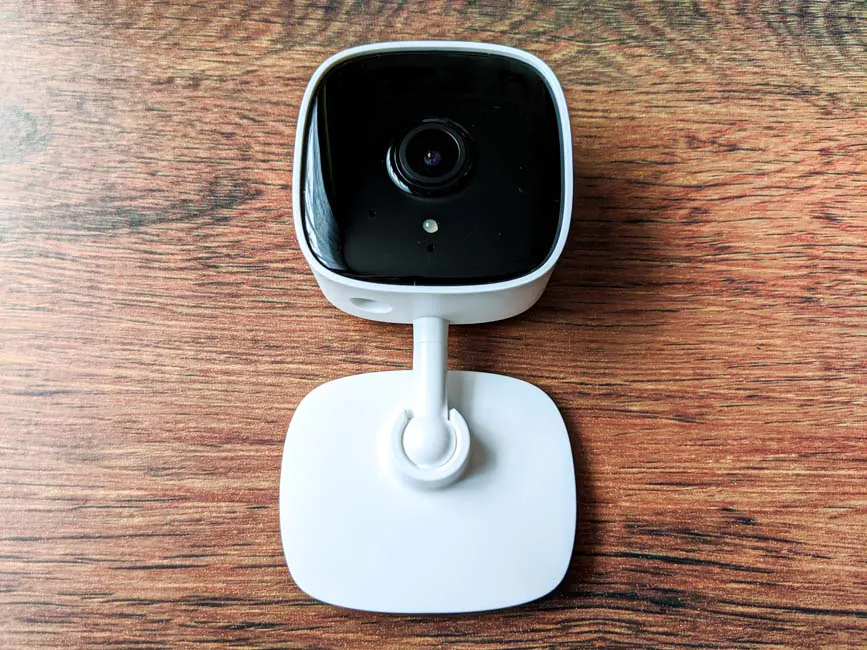
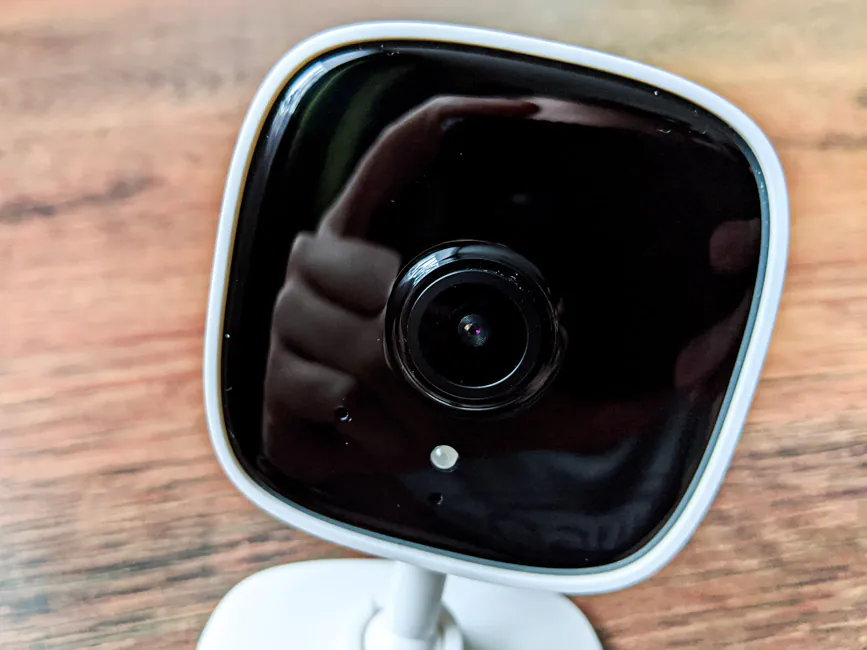
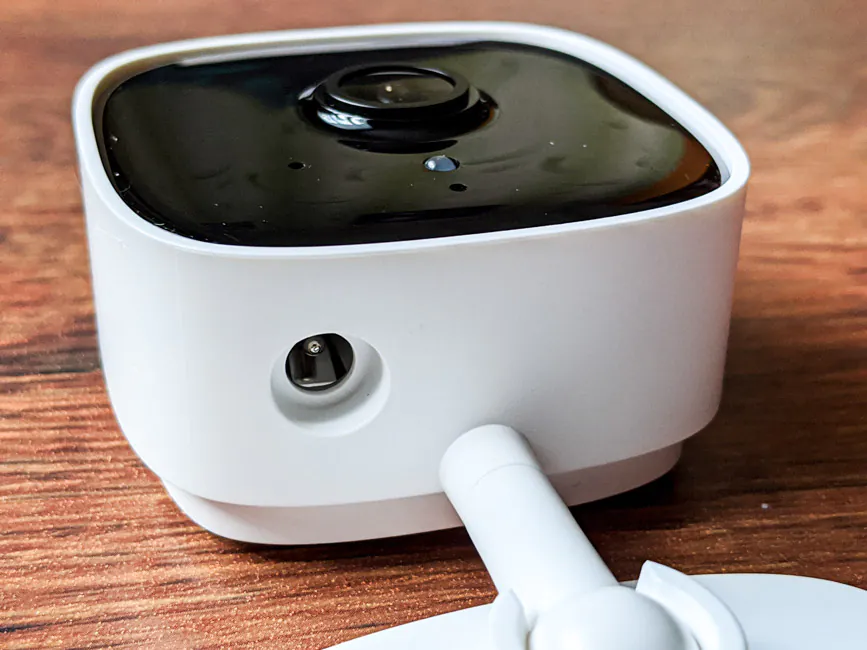
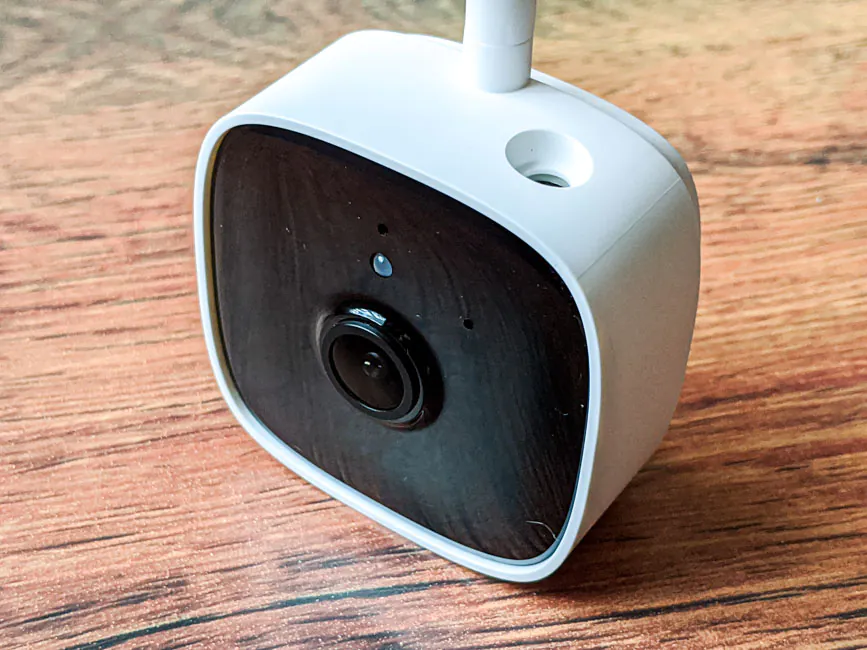
Unexpectedly (actually very much expected), TP-Link Tapo C100 externally represents a typical surveillance camera. The case is white and the front panel with the lens is black. Basically, everything is made of high-quality matte plastic, and the gloss is only in the front. The camera itself looks rather concise and neat, clearly not trying to disguise itself as anything else.
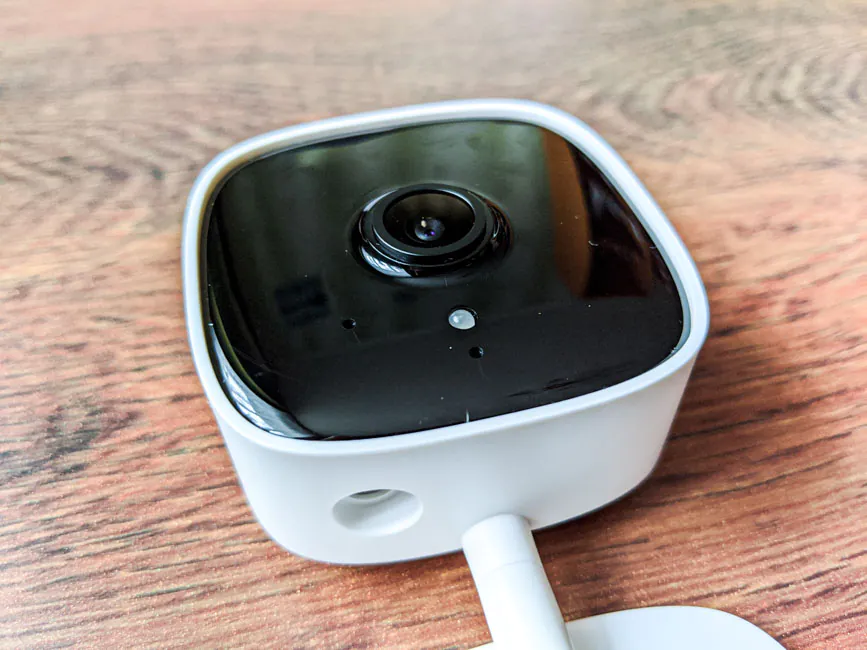
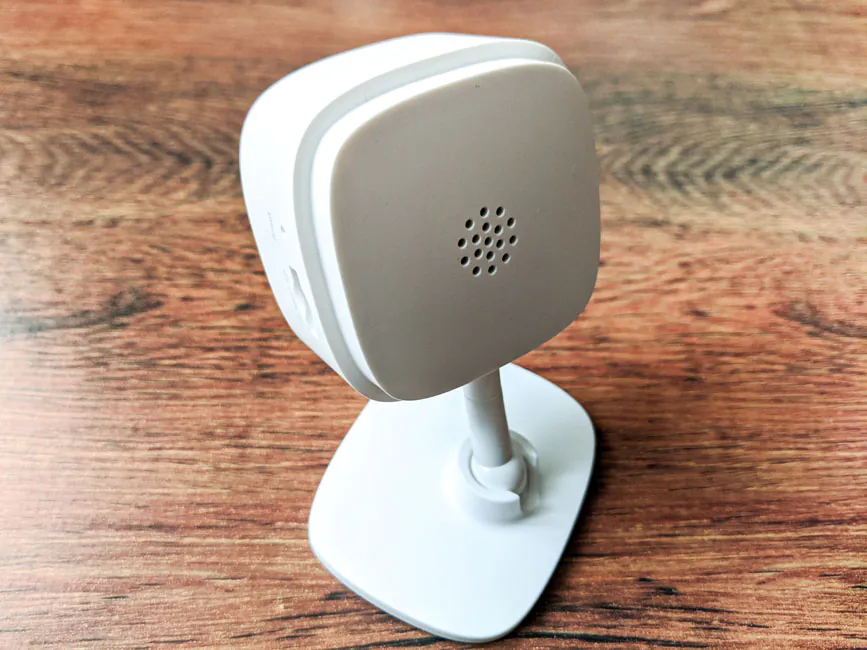
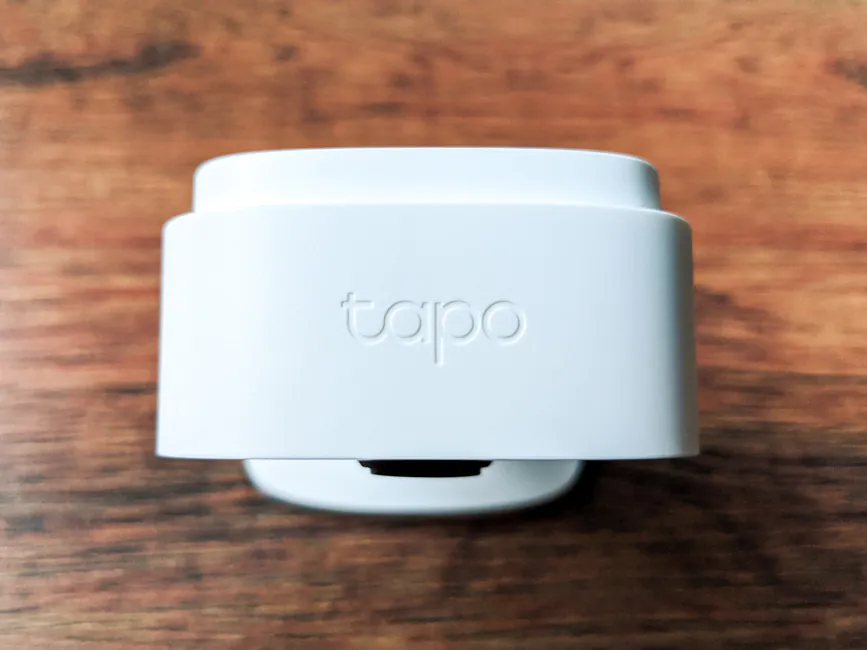
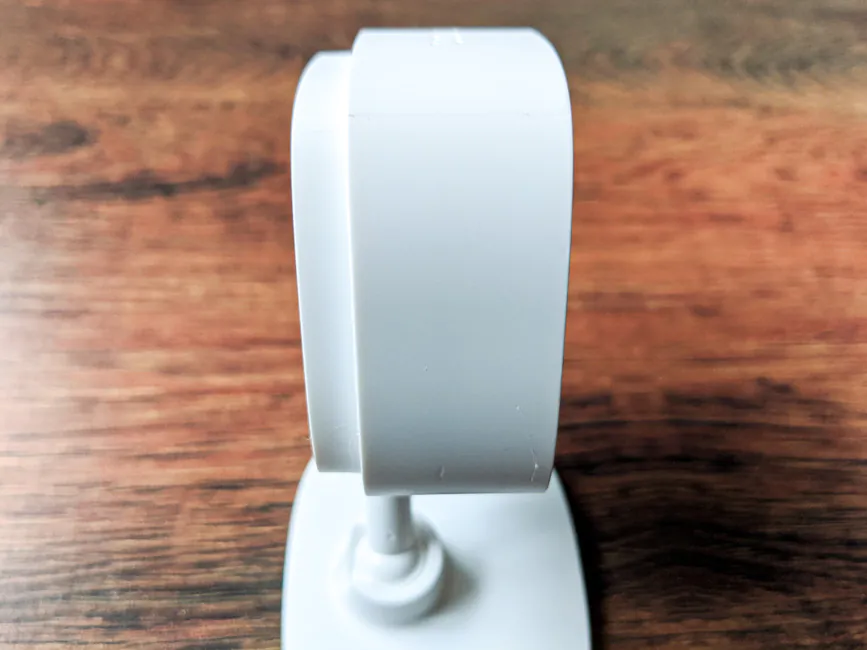
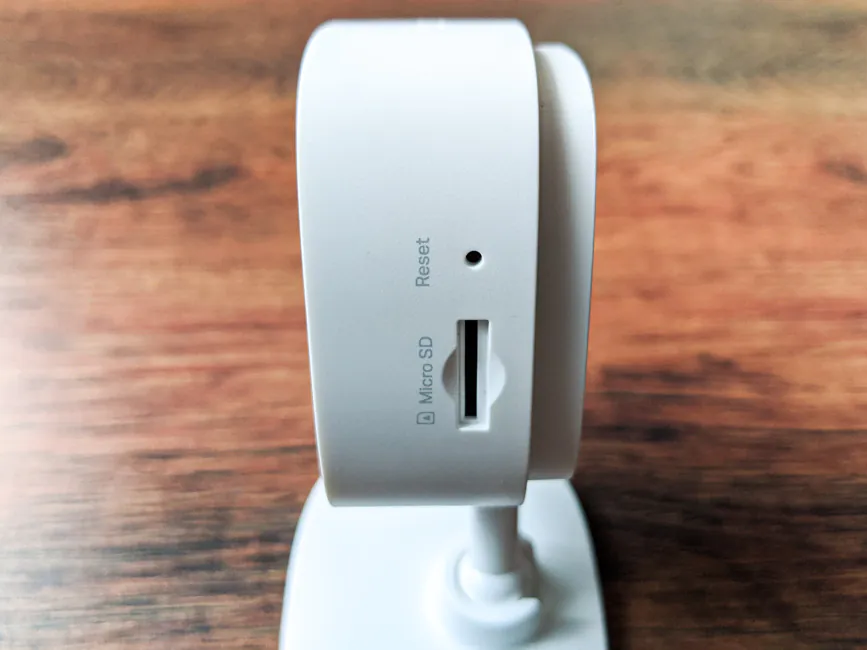
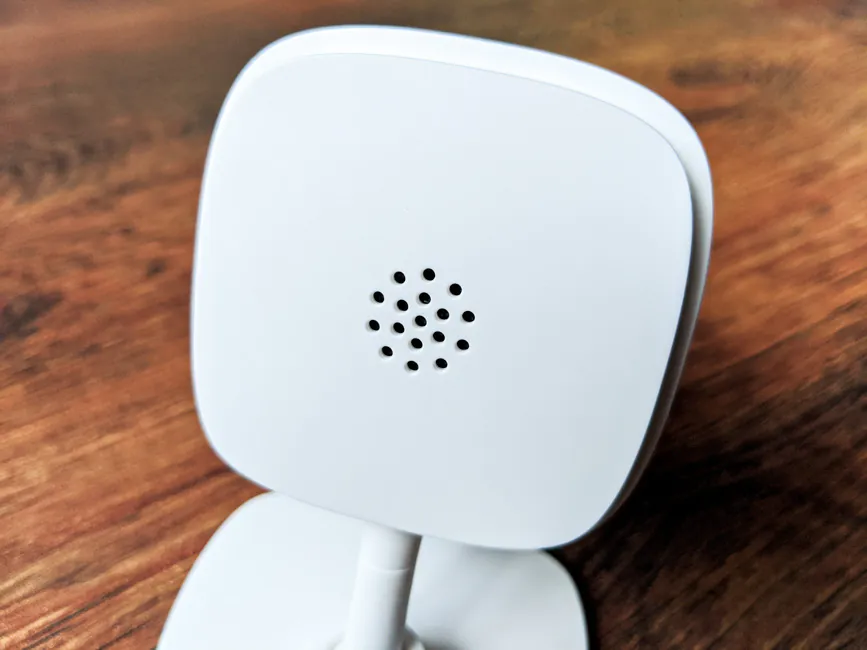
Let’s go over the elements configuration. In front in the center is the camera eye, infrared sensors, microphone, and an LED indicator. There is glossy Tapo embossing on the top and the left is empty. The right side contains a hole with a reset button for the camera and a slot for a microSD card. The lower one has a leg and a power connector. On the back there are holes with a speaker.
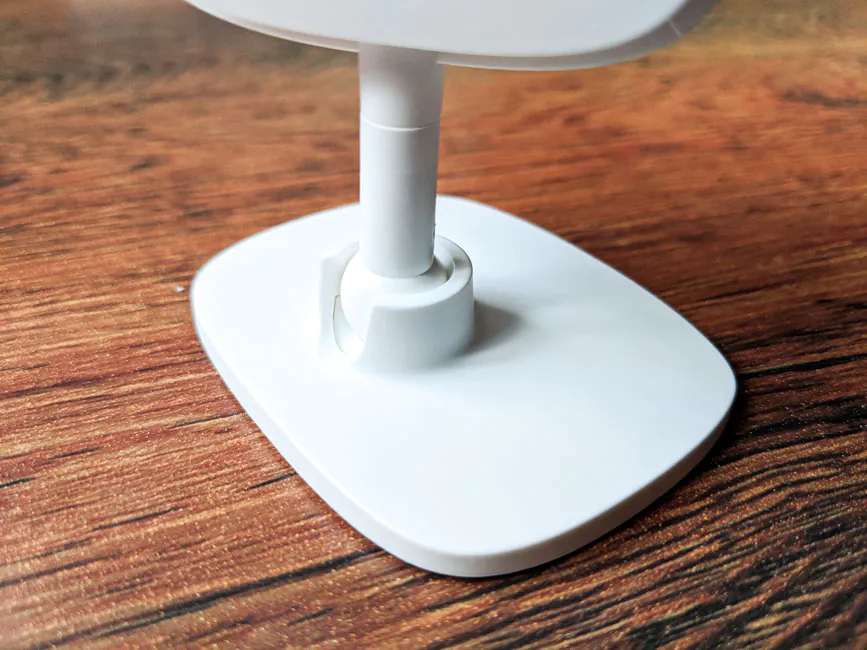
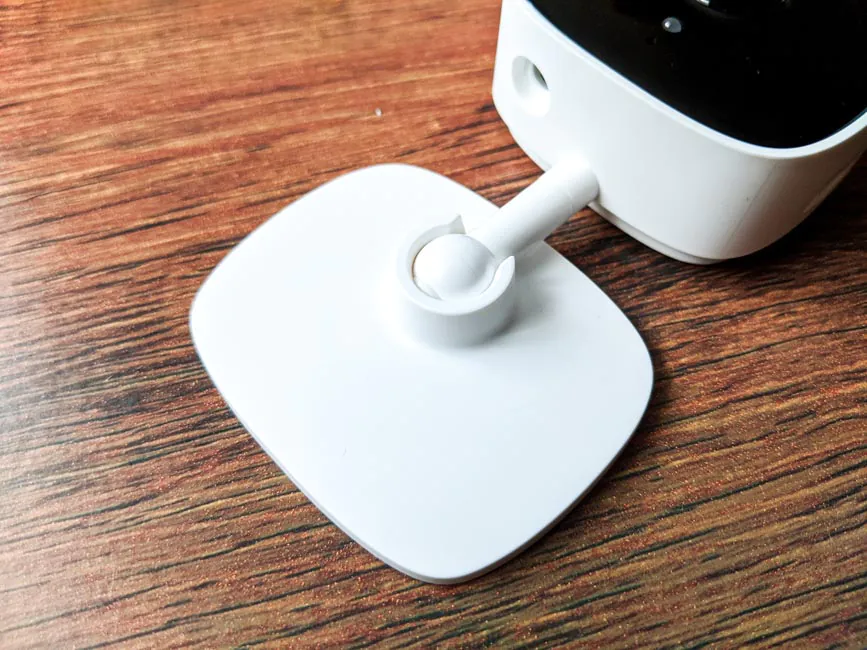
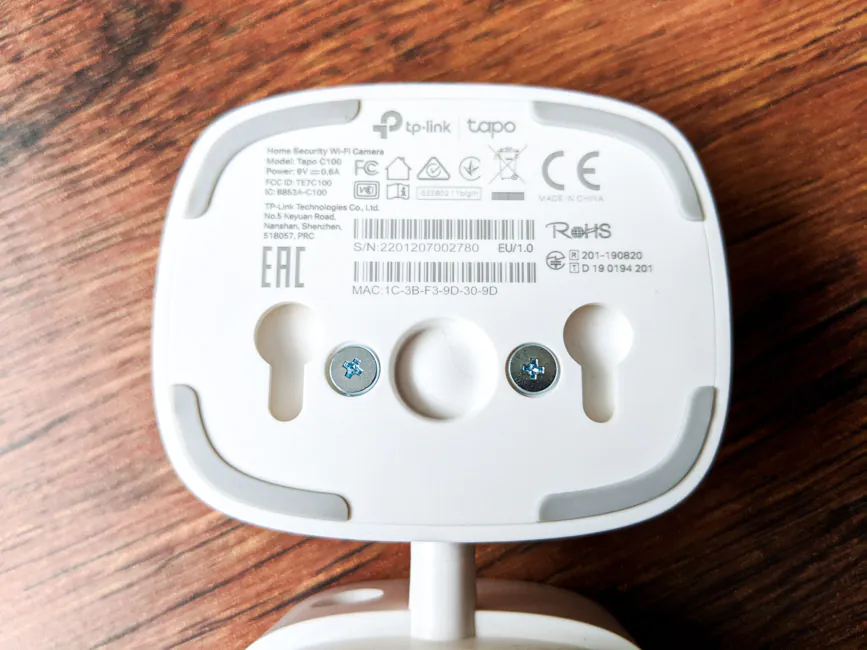
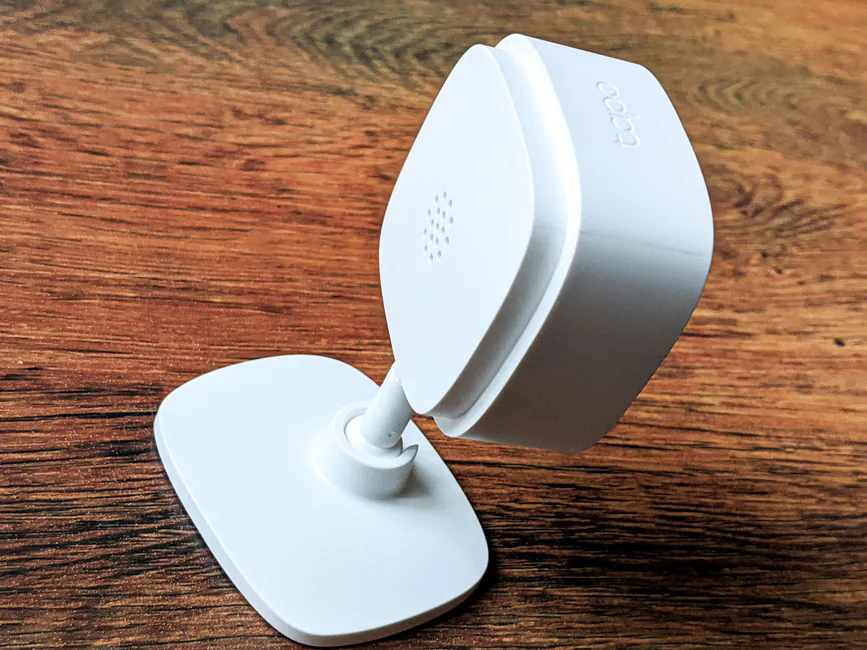
The camera module is located on a small leg-stand, which in turn is mounted on a special base. On the base of there are four rubberized legs, a lot of official information and two cutouts for wall or ceiling mounting.
Thanks to this very type of mounting, if necessary, the camera can be tilted to any desired angle. The base can not only be installed on a flat horizontal surface, but also be fastened, for example, to a wall or ceiling. To do this, use the supplied screws and a template. Camera dimensions: 67.6 × 54.8 × 98.9 mm.
Initial setup of TP-Link Tapo C100
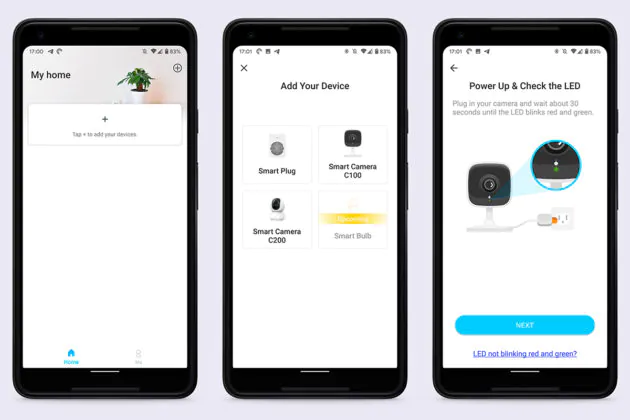
To configure TP-Link Tapo C100 you will need an iOS device (from version 9) or Android (4.4 and higher), a Wi-Fi network and TP-Link Tapo mobile app. Download the application, connect the camera to a power source and begin the setup process.
Android:
iOS:
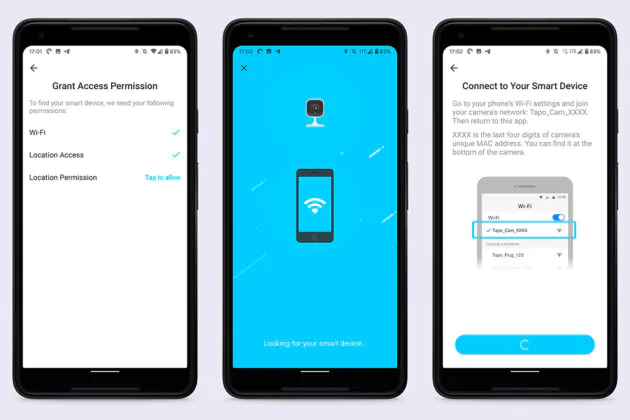
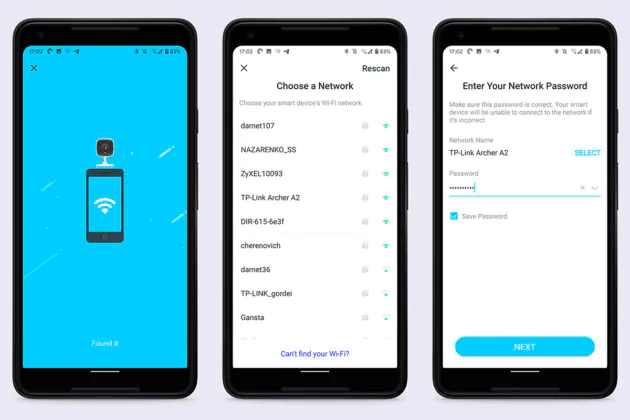
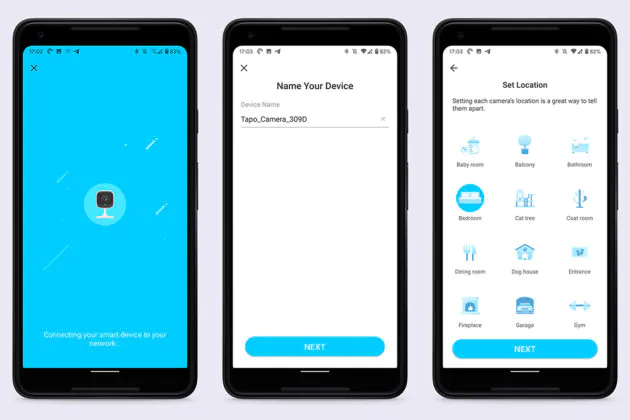
We press the button with the plus sign in the application, select C100 camera in the list that appears and follow the further instructions. We provide all requested permissions, after which the search for the camera will begin. Then we connect to it through the Wi-Fi settings of your device and return to the application. Next, a list of all available networks appears, where you need to select your own and enter the password. After that, you will be asked to name the camera – it will be useful if you intend to connect several at once, and also indicate its planned position (bedroom, kitchen, etc.).
Controlling TP-Link Tapo C100
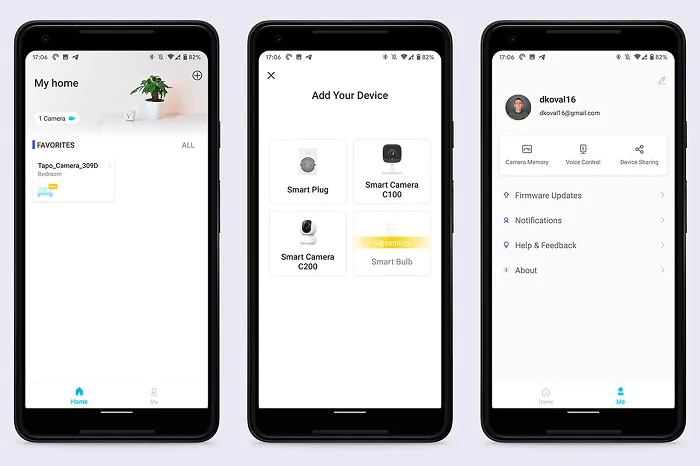
First of all, you will need to create or log into an existing account. The application itself has two main tabs: “Home” and “I”. In the first window, in fact, is all the basic things that are connected to your home. Here we find the number of cameras, and you can also connect new devices (not only cameras, but also smart sockets or lamps). There are some cards with all connected devices. In our case, only one camera is displayed with the user-specified name and location.
By clicking on the card, all data for a specific device is opened. At the top of the screen there is a choice of stream quality (HQ or LQ), operating mode (auto, day or night) and settings. The image directly from the camera is shown below, and there are several buttons for quick functions: you can change the display grid (the image from 4 cameras will be displayed on one page), take an instant photo or quickly record video into memory; there is a slider for adjusting the camera’s microphone sensitivity and a full-screen horizontal mode.
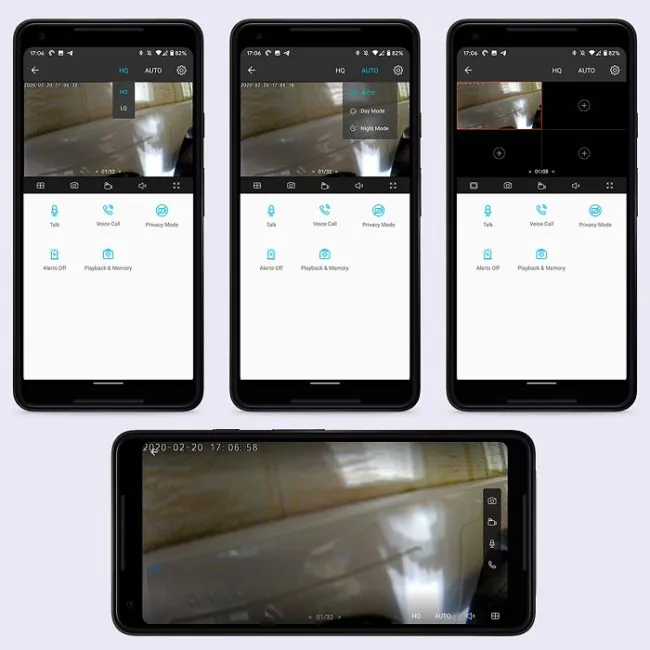
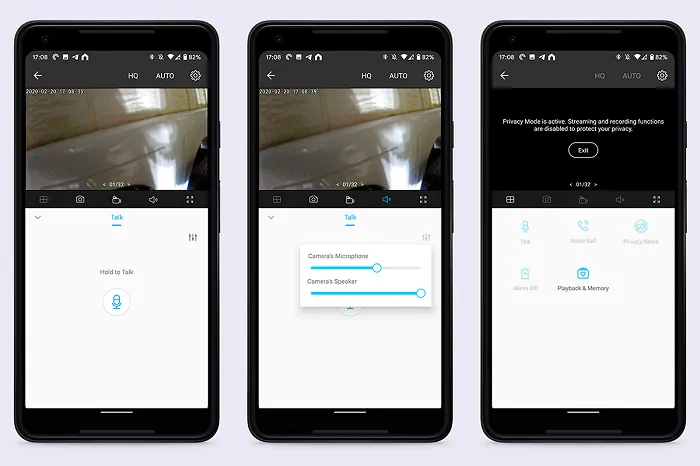
The remaining more useful and necessary options are placed even lower with larger buttons:
- “Talk” – one way walkie-talkie/voice messages
- “Voice call” – a full-fledged “call” to the camera, you can listen to what’s going on and talk to the person on the other side, if necessary
- “Privacy Mode” – stop recording/broadcasting for an indefinite time (you can only disable it manually)
- “Alerts” – quick enable/disable motion detection sensor
- “Playback and memory” – you can inspect all recorded material and what the user photographed/recorded manually through the appropriate buttons
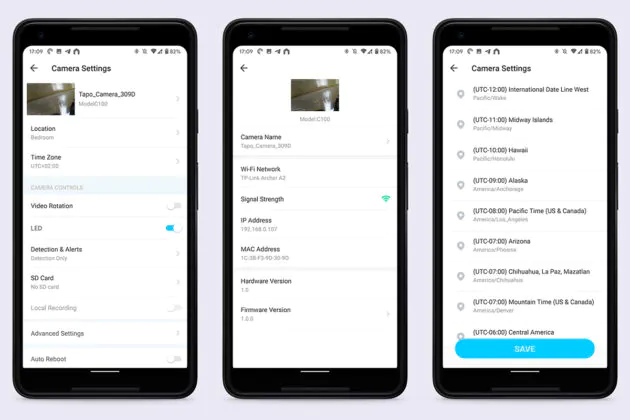
In the settings you can see all the information on the camera, change the location, time zone, rotate the video (180°, if the camera is installed on the ceiling), turn off the light indicator so as not to attract attention, configure motion detection and device actions in these situations, enable continuous and cyclic recording to an SD card, set a recording schedule, display information on the content (date, time, some inscription, etc.), as well as activate automatic regular reboot to cameras at 3:00 and other features.
The second tab shows your account, allows you to update the camera firmware, configure notifications about updates and motion detection, and there is also help and information about the application. In addition, there are three buttons for quick access to camera memory, voice control settings and sharing.
We’ve discussed the first tab, but the latter is currently not working, so we can only deal with voice control. Two voice assistants are currently supported: Google Assistant and Amazon Alexa. However, in order to really be able to execute some commands, you will need not only a smartphone or speaker with an Assistant, but also a Chromecast, or a TV with its support. Then you can display the image from the camera on the TV screen, but you can’t disable it with a command – this is done in the name of security, which is quite logical.
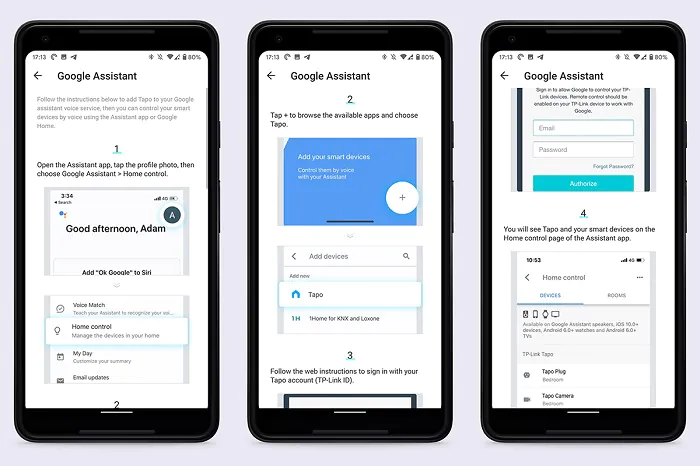
If there is a need, you can create an account for additional camera settings to access it through the web interface, a cloud website and other third-party services.
I would also like to clarify that if you look up the TP-Link Tapo in an app store, then with a high degree of probability you will stumble upon the Tapo Camera application, which essentially gives the same settings and controls, but does not support other gadgets in the series, like smart sockets. Honestly, it’s not entirely clear to me why such a separation is necessary. After all, there is already one application with support for all Tapo devices, why do you need the second only for cameras?
You can use this second application. Even if you configure the camera through one, and in the second you log into your account, then everything will be working right away. But, if anything, the QR codes on the box and in the instructions lead exactly to TP-Link Tapo application. Bizarrely, in instructions the application is called Tapo Camera…
TP-Link Tapo C100 Features and Experience
Before we talk about the declared capabilities of the camera, it is worth noting technical details. The 1/3.2″ sensor is capable of recording video in Full HD resolution using the H.264 codec. The focal length is 3.3 mm. The night vision is provided by an infrared LED with a radiation of 850 nm, which is enough for proper quality shooting in complete darkness at a distance of 9 meters. Wi-Fi supports 2.4 GHz.
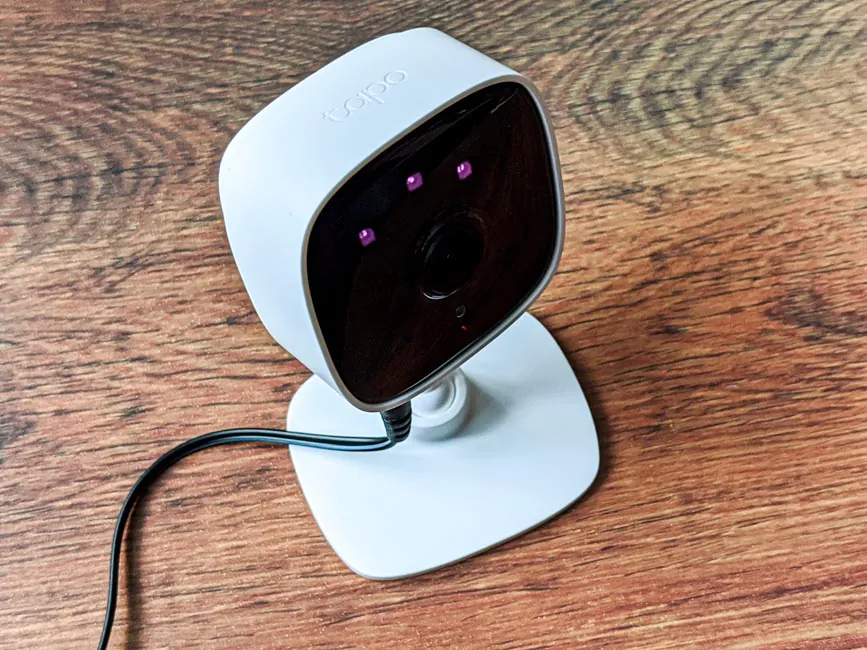
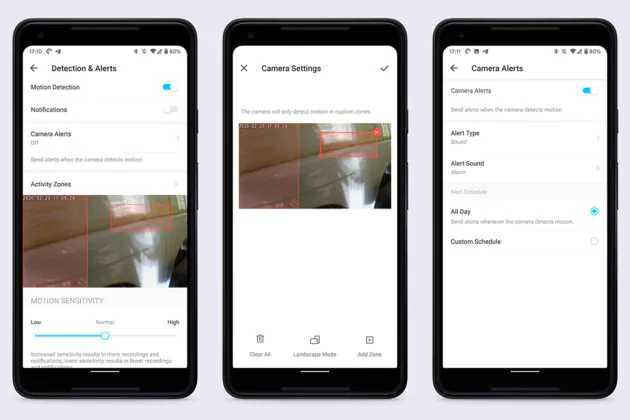
It is already clear that there is motion detection. To do this, you can select either the entire area in the frame so that even the mouse does not slip, or configure some specific zone, or even several of them. Let’s say the size of the window or door. You can also establish the movement sensitivity: low, normal, high. Upon detection, the camera will be able to give a sound signal, and a push notification will arrive on the smartphone. In general, I was very pleased with the function, because even the smallest movement is captured without problems. And a person or an animal, even more so, I also did not observe any problems with the arrival of such alerts, which are instant.
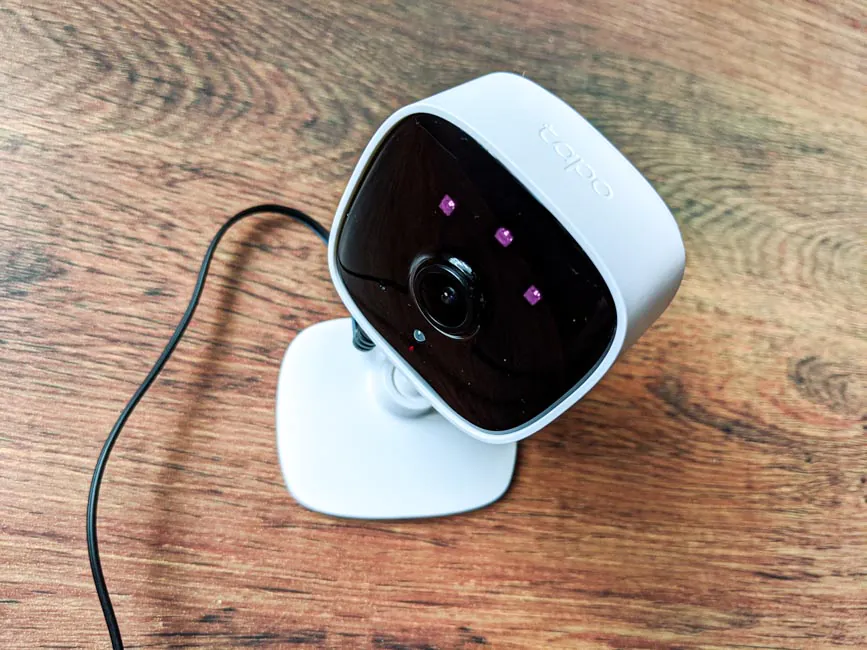
Two-way audio allows real-time communication. But you can also talk only in one direction, for example, to reassure a pet. The quality of voice transmission is quite alright. The volume should be sufficient, even if the camera is mounted high. The microphone of the camera is the most ordinary, but in general it copes with its function.
By default, the camera only broadcasts a streaming picture, and can record what is happening on a memory card if one exists. Recording can be configured both for motion detection and constant. In addition, you can configure the recording schedule (by day, or hour). SD cards up to 128 GB are supported and with storage that big you can save 384 hours, or 16 days of footage. However, if you install a smaller card and enable loop recording, the old data will be erased, and fresh data will be written in its place. I installed 16 GB microSD and was able to record a total of two and a half days on them in 24/7 format. Files are split into small 256 MB chunks, up to an hour.
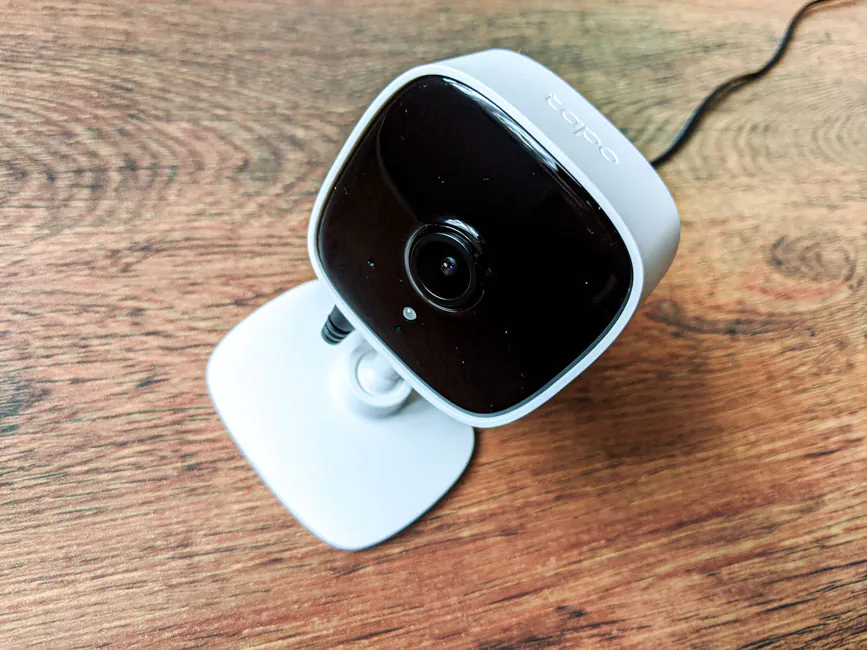
It is interesting that it is possible to record and take pictures on the camera’s own memory, so that later you can quickly download it to your smartphone or share it with someone. However, the manufacturer does not specify how much of this memory is there and how many videos or photos can be stored on it. But I recorded more than 30 minutes and there were no warnings about the lack of memory. However, there is one important point – this will have to be done manually through the application, and if you record something, then you can’t minimize it or switch to other program windows, otherwise the recording will stop. Nevertheless, if you receive a notification and you have responded promptly to it, you can turn on the recording and don’t miss a lot.
The image quality is good for this class of devices. If you look at the HQ stream from your smartphone, you can quite easily determine the facial features of the person. In LQ, the quality is lower, but nevertheless, it consumes less traffic. There is a delay, of course, but a small one – up to a second, if you are on the same network. At night everything is just fine, even in complete darkness the room will be visible, albeit not as detailed.
Verdict
TP-Link Tapo C100 is a high-quality home Wi-Fi camera that is relatively inexpensive and provides the user with many advantages. Starting with the form factor, which allows you to install the camera on the wall, on the ceiling and on any flat surface, and ending with a simple and intuitive software for monitoring the home.
Key parameters also did not disappoint: normal video and audio quality, the presence of night mode, two-way communication, and working motion detection with instant notifications.

In two weeks I didn’t encounter any problems of any nature, which tells us one thing – the successful experience of TP-Link in the field of network equipment can easily migrate to the concept of a smart home, which will be build around Tapo products.
Subscribe to our accounts:


Thanks for the detailed review.
I think you’ll find that when you record via the App, the recording (photos and videos) are actually stored in your phone’s storage and not in the “camera’s own memory”. You probably won’t find them in your usual photo/video folders, but tucked away in a folder under the specific camera App.