© ROOT-NATION.com - Use of content is permitted with a backlink.
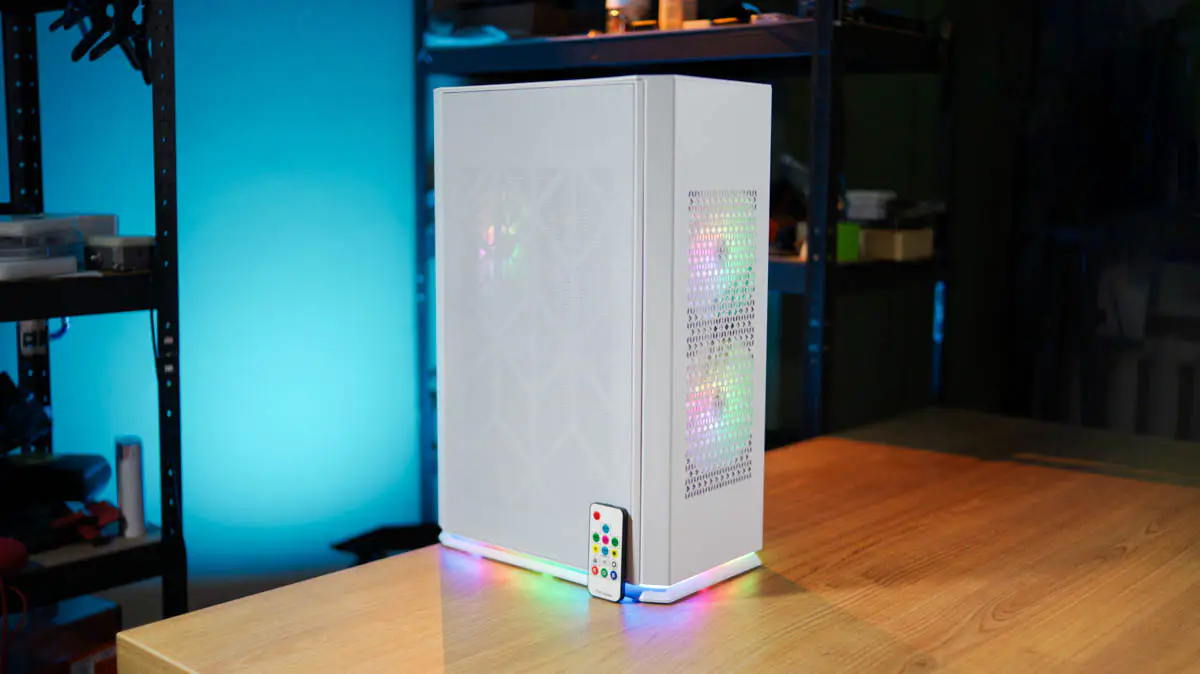
The 1stPlayer UN1 case lacks almost all the early “growing pains” of its form factor, yet retains all the key advantages. And over time, these advantages only become more appealing.
Market positioning
The 1stPlayer UN1 costs around $170, or approximately €150, which is a fair price whether for a prestigious Full Tower or for an ultra-compact and unique option—and the UN1 fits the latter category. The challenge lies in the fact that this case represents one of the first instances where 1stPlayer is venturing into the premium segment. While the company has produced some decent cases, it is primarily known for being a brand in the entry-level price range.
In short, the manufacturer is known for affordable and mainstream models, but now they’re trying to break into a completely new level. That’s why both you and I should be VERY curious about how 1stPlayer plans to impress us. After all, the company has plenty of experience, having been around for nearly 15 years. By the way, this case is a brand-new release from 2024, so it’s not even available on all localized versions of the official website yet.
Packaging
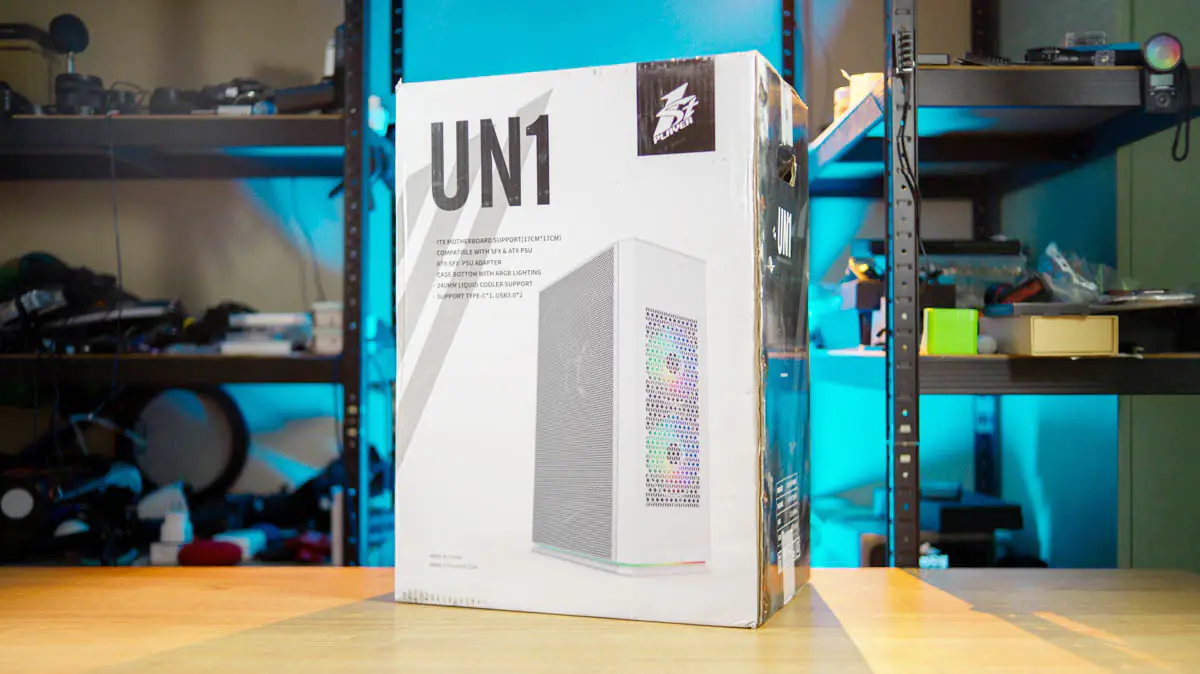
The box for the 1stPlayer UN1 is compact and tall, with dimensions and proportions more reminiscent of a blender. Inside, the packaging is made from expanded polypropylene, providing reliable and high-quality protection.

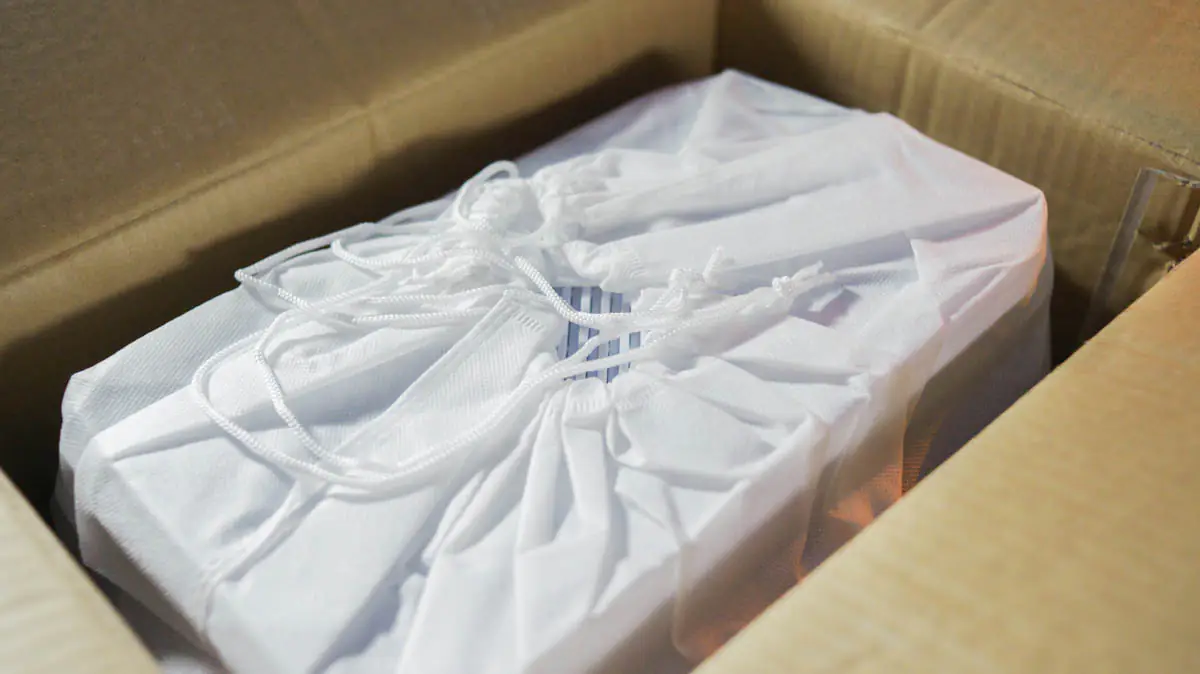
What comes next is something I’ve never seen before. The case is hidden inside a bag, and to get it out, you have to pull the drawstrings upward. This is, first of all, unique, and secondly, an absolutely brilliant idea—no case has ever been so easy to pull out of the box.
Appearance of 1stPlayer UN1
The 1stPlayer UN1 PC case looks like something between an oversized access point from a mesh system and a dramatically scaled-down building—let’s say, the headquarters of a mega-corporation. It doesn’t resemble a PC case from any angle. Which is cool, because it’s becoming harder and harder to surprise me in this aspect.
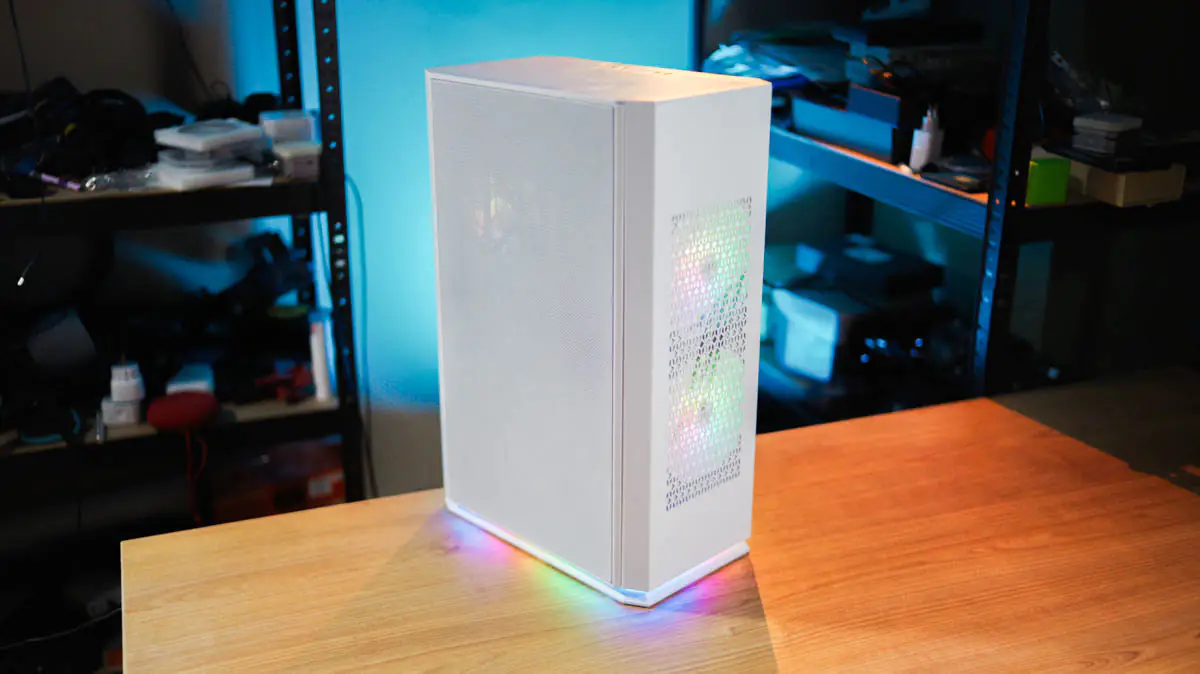
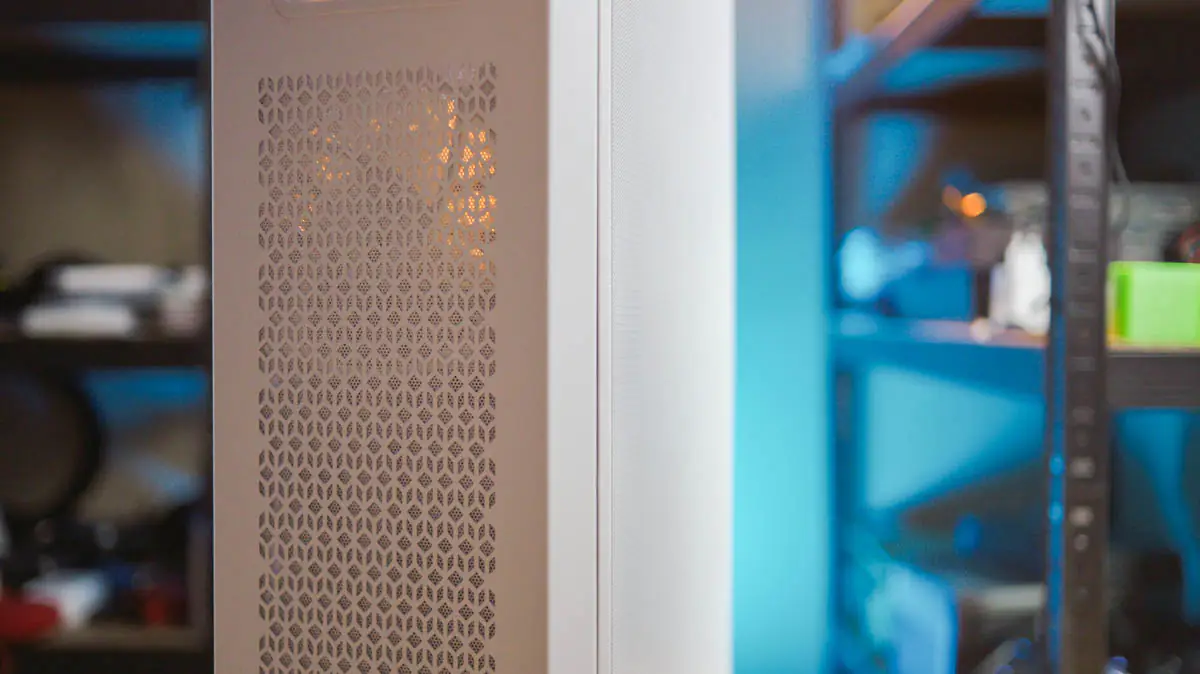
The case is tall, not very long, relatively narrow, and features perforated panels on all sides with varying textures. On the wider sides, there are diamond and triangle patterns under the dust filter, while the narrow sides have deep metal perforations. The top is slanted, so airflow will move upward at an angle, rather than directly straight up.
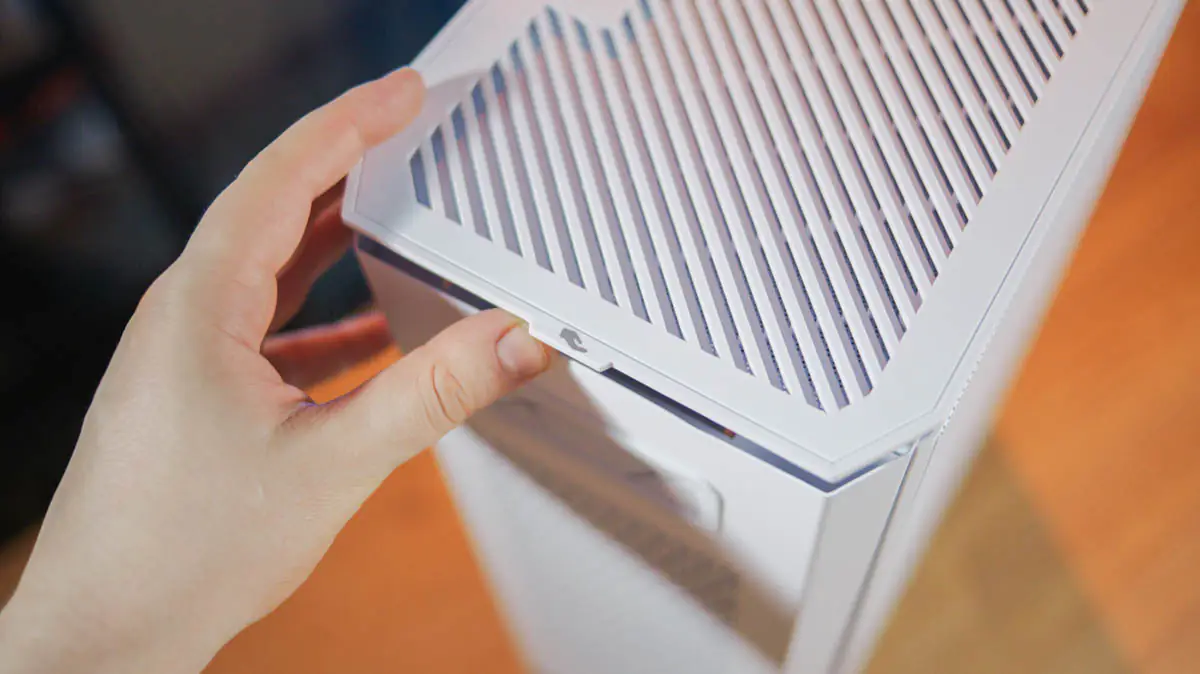
The case doesn’t have a distinct “front,” but the back is more noticeable, featuring a silicone gasket at the top. However, the front does have a recognizable detail—a black pattern in the style of the 1stPlayer logo, serving as its distinguishing mark.
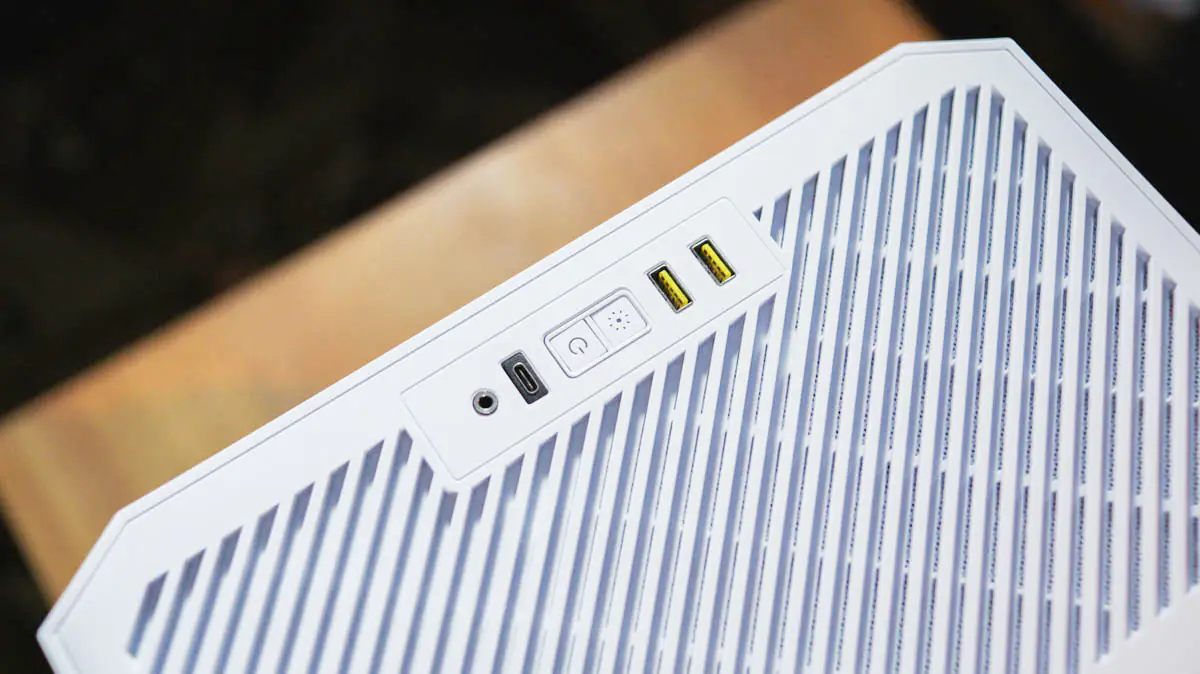
At the top, you’ll find the control panel with peripheral ports—two USB-A 5 Gbps, one USB-C (likely 10 Gbps), and a combo audio jack. In the center are the power button and a button for adjusting the lighting.
Specifications and compatibility
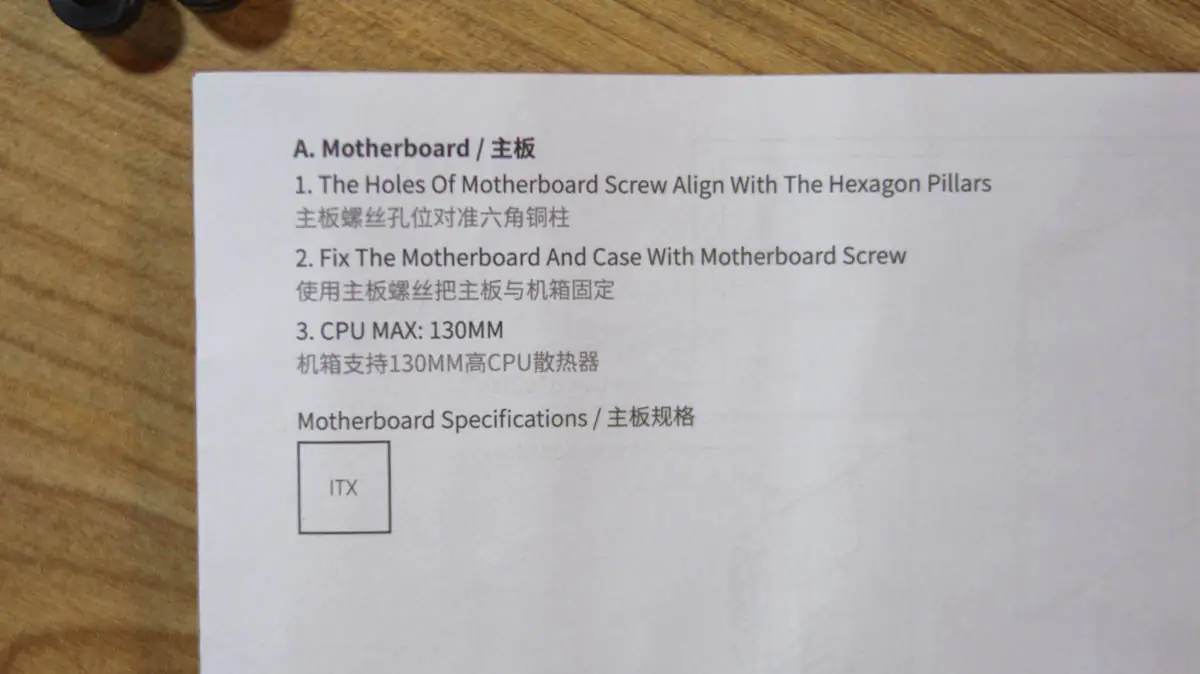
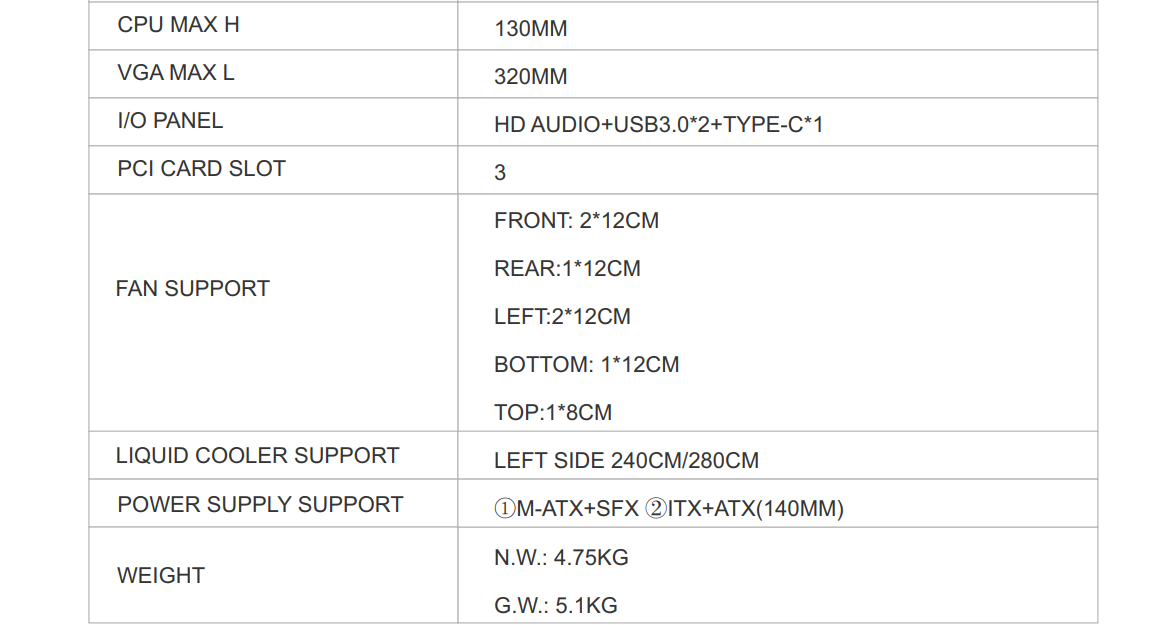
The dimensions of the 1stPlayer UN1 are 302×180×458 mm, with a weight of 5.2 kg. The metal thickness is 1 mm, and it follows the Mini-ITX format. This format partially explains the high price of the case, though not entirely. While the maximum cooler height is only 130 mm, the case accommodates a graphics card up to 320 mm in length and up to 3 expansion slots in height.
The 1stPlayer UN1 supports liquid cooling with a maximum radiator size of 240 mm. It can accommodate up to 7 fans in total, with the option for 6 120-mm fans and 1 80-mm fan. Included in the package are four 120-mm fans, three of which feature ARGB lighting.
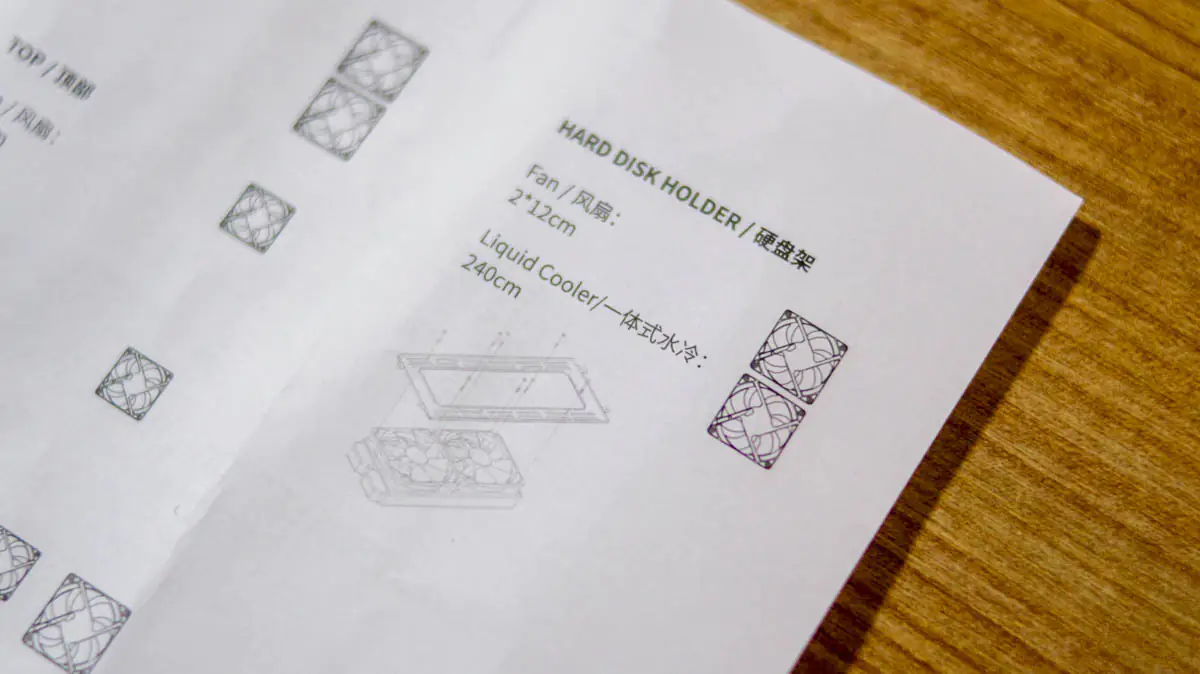
Let’s finish up with the compatibility regarding components—specifically the storage. One more reason the 1stPlayer UN1 feels like a “blast from the past” is that it supports up to three 3.5” drives and two 2.5” drives simultaneously.
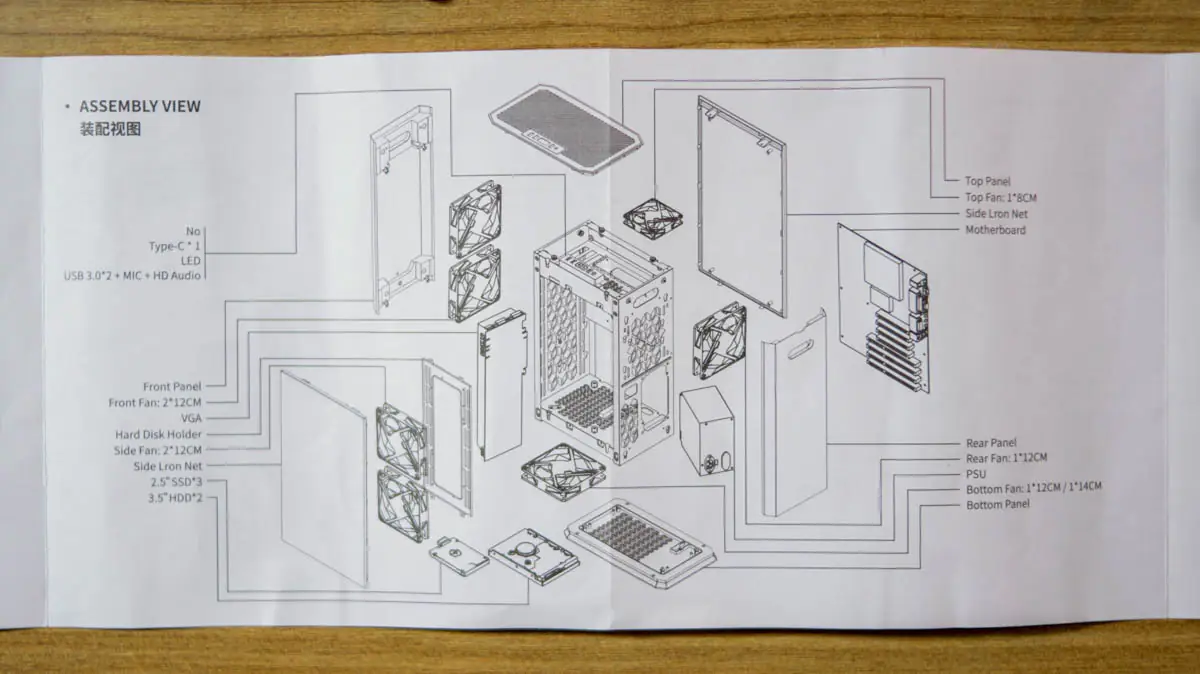
Or you can have one 3.5-inch drive and four 2.5-inch drives. Alternatively, if you decide to build a PC with liquid cooling, the case can accommodate only one 3.5-inch drive and two 2.5-inch drives.
Disassembling the 1stPlayer UN
The top panel is held in place by magnets, making it easy to remove—just lift it with your finger at the plastic tab with the corresponding indicator. Next, unscrew the silver screws that secure the wide side panels. These screws are not captive, unlike the screws that hold the shorter side panels.
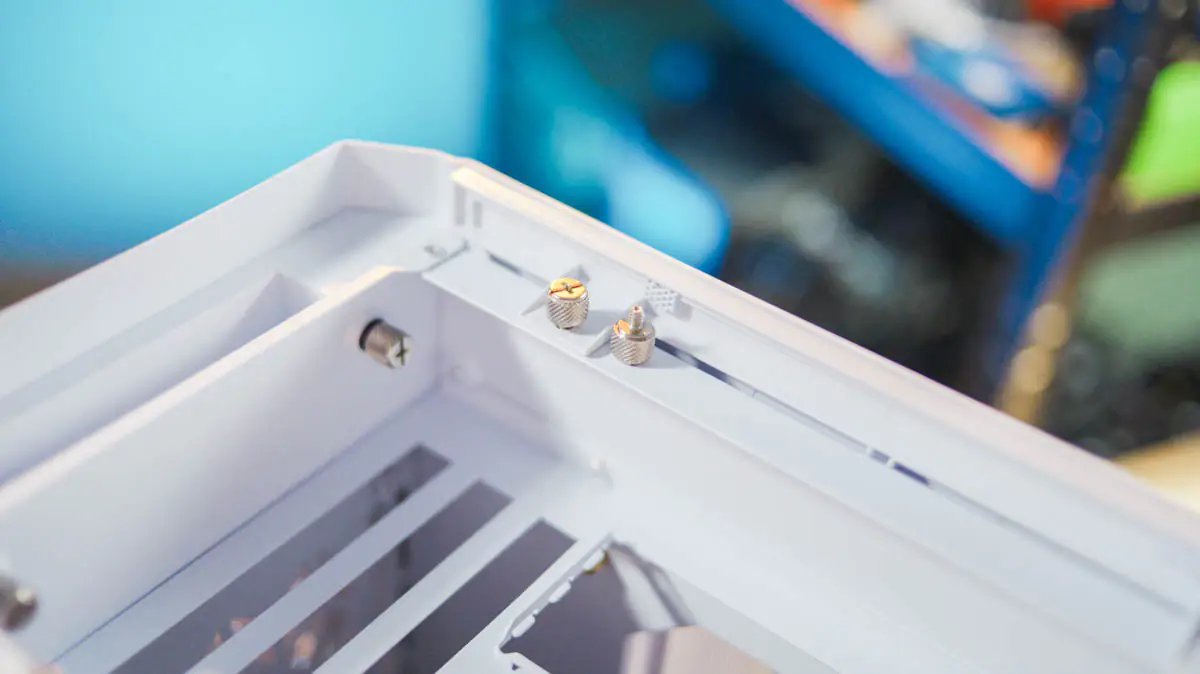
All the side panels can be removed by lifting them upward. I also want to highlight the rubberized areas where the panels “slot in” after installation. I didn’t expect to see this, but it’s a nice, thoughtful feature.
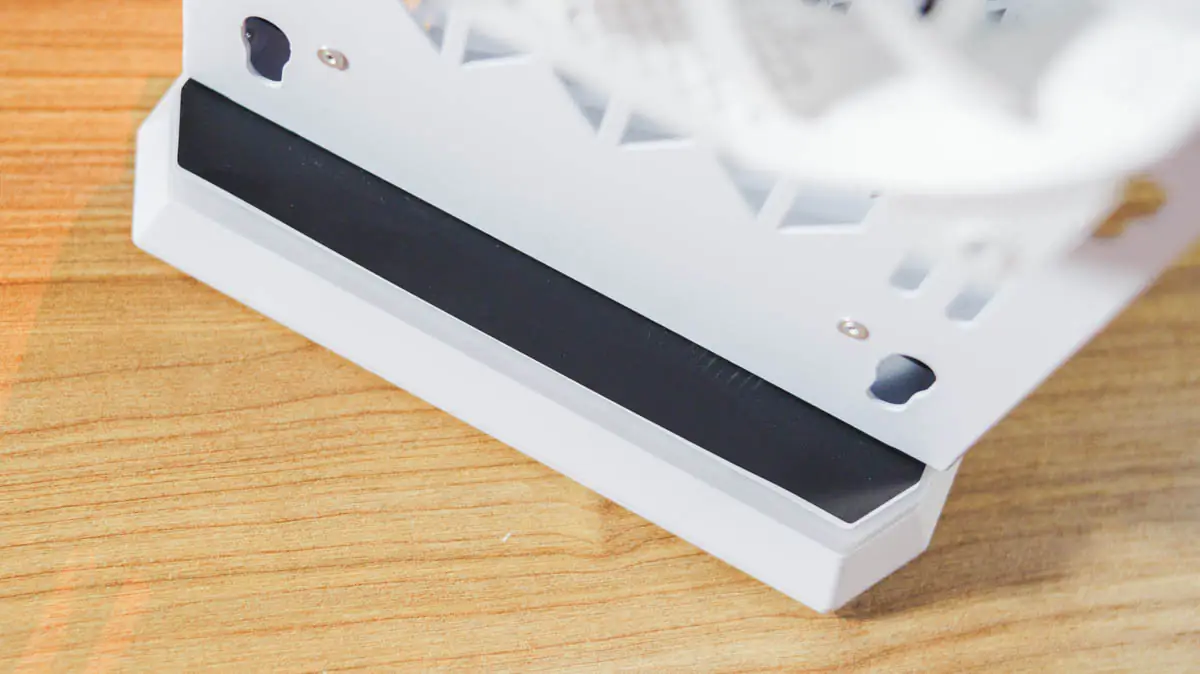
By the way, my case came with a slightly bent panel right out of the box—but it turned out to be just one of the fan cables getting stuck during assembly, preventing the panel from closing completely. After I removed the cable, the panel closed without any visible issues, and I can’t even remember where the bend was. This means the side panel maintained its shape and did NOT deform, even though it had plenty of time to do so.
Only after removing all the side panels can we finally see the main reason for the high cost of the 1stPlayer UN1: it comes with a pre-installed power supply. Such solutions used to be much more popular because even mid-range components rarely consumed more than 200-300 watts combined. This made it advantageous for case manufacturers to sell ready-made solutions with relatively low-power PSUs inside.
In the case of the 1stPlayer UN1, the situation is different. There are options for the case without a power supply included. However, the pre-installed options can be either the 1STPLAYER SFX 650W or the 1STPLAYER SFX 750W.
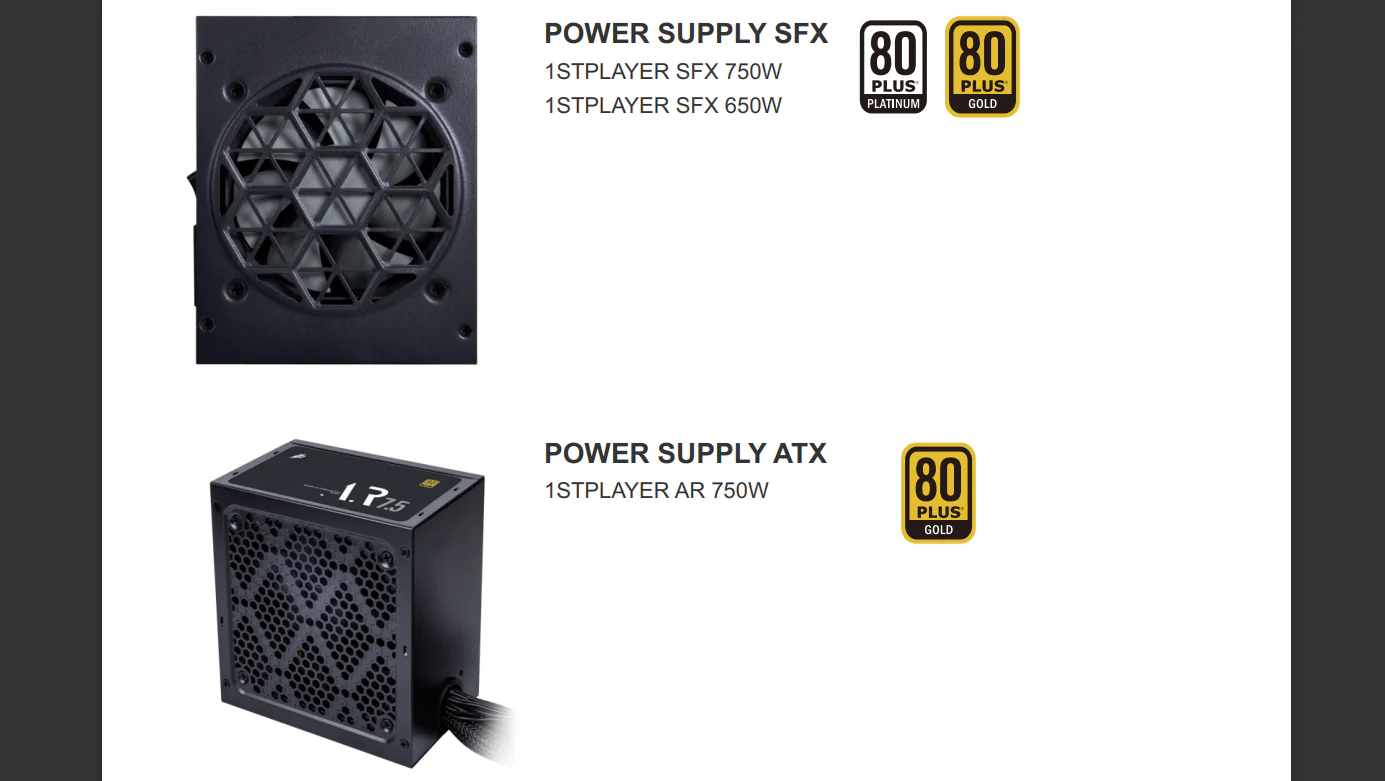
The manufacturer also lists the full-sized 1STPLAYER AR 750W PSU as a recommended model, though I don’t quite understand why. However, the requirements for power supplies in the case are not specified, so it’s likely that, similar to the Cougar Archon 2 Mesh, compatibility with the PSU doesn’t guarantee that a larger size won’t affect the ease of assembly.
Complete power supply unit
My case came with a pre-installed 1STPLAYER SFX 750W power supply. This PSU is no joke; it delivers 750 watts and has an 80Plus Platinum certification (the 650-watt version is rated at 80Plus Gold).
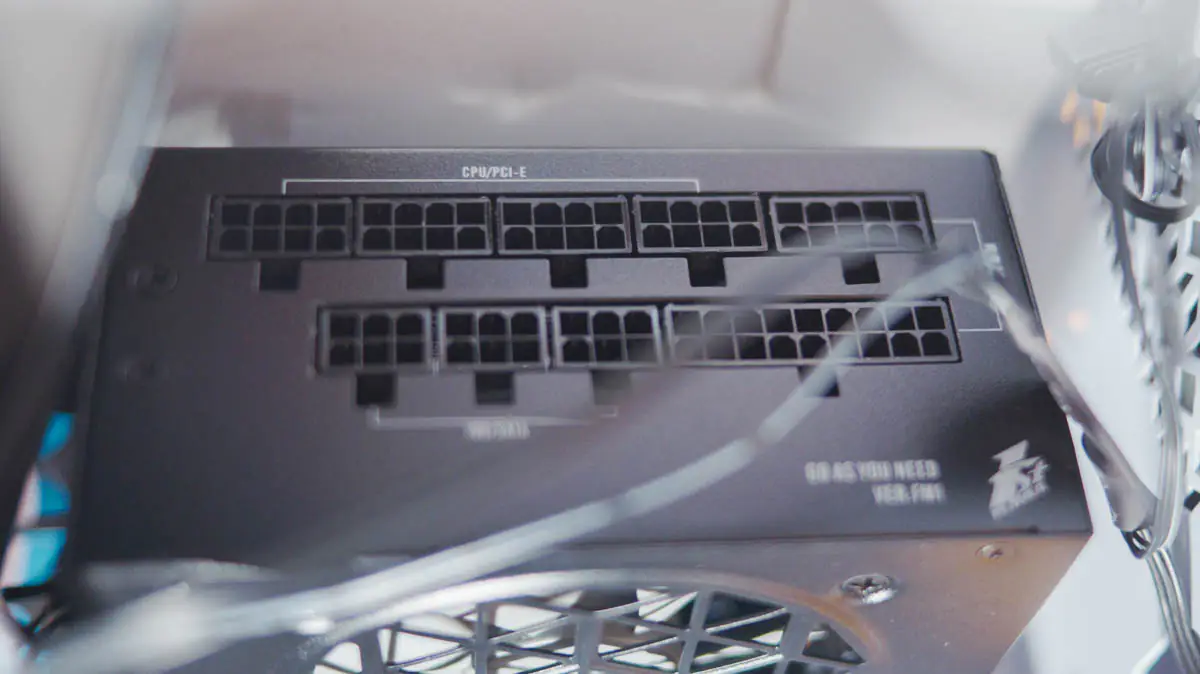
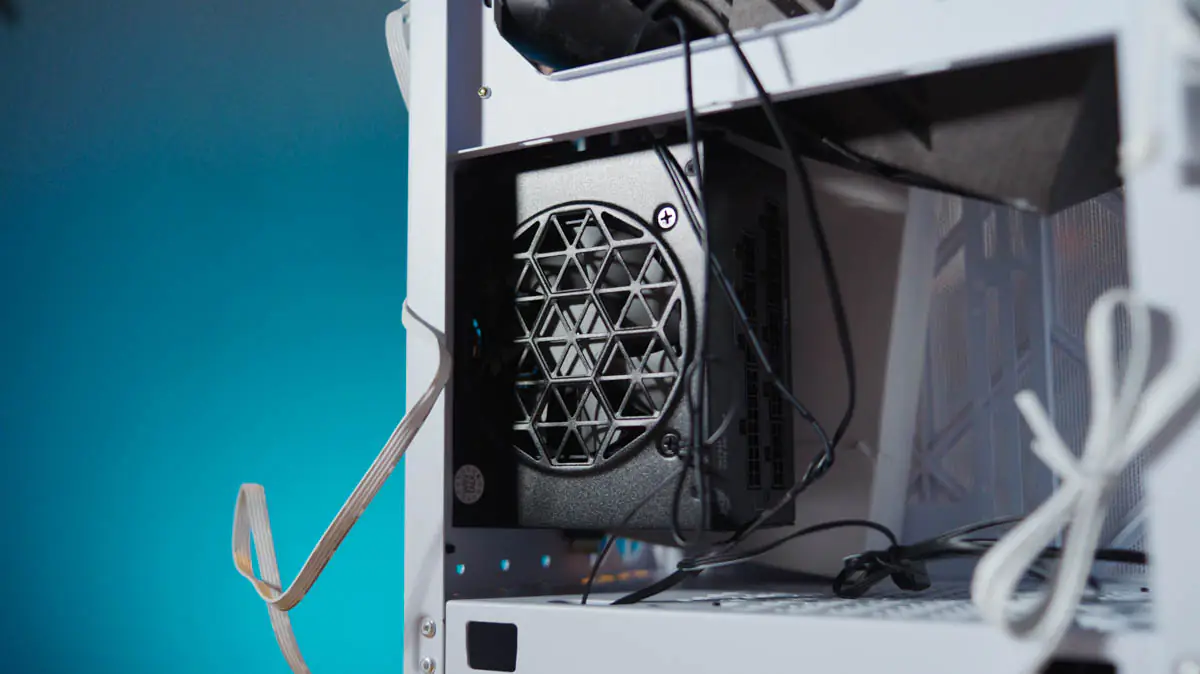 The power supply is modular, priced at around $130 separately, and comes with additional accessories, including:
- ATX 20+4pin cable 30 cm long
- 4+4pin and 8pin CPU cables separately, 45+10 cm
- 6+2pin cable 40 cm long
- double 6+2pin cable, 40+12 cm
- two SATA cables for 4 connectors, 12+12+12+12 cm
- a cable for 4 MOLEX connectors, the same length as SATA
- with screws
- Velcro ties
- plastic ties
- ATX-format mounting frame
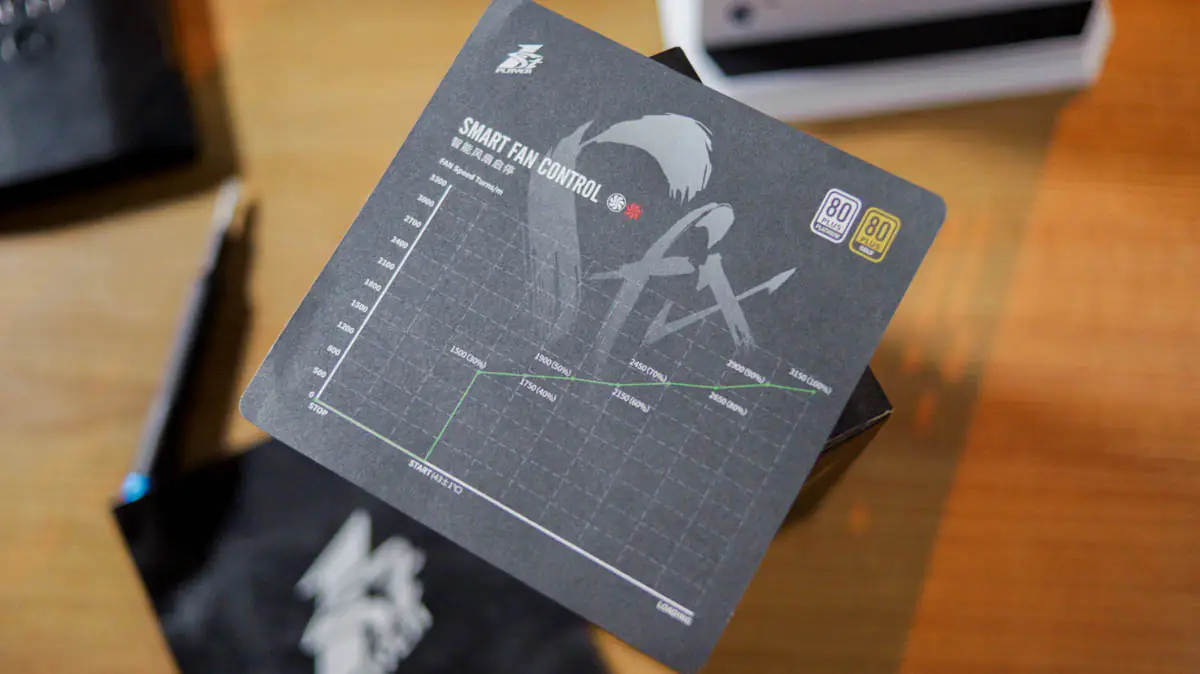
It also includes a manual and a fan speed chart. Interestingly, the 80mm D80SH-12C fan is not always active; it operates in Zero dBa or Zero RPM mode, meaning it runs completely silently until the load reaches 30% or the temperature reaches 41°C.
This applies to both the 650-watt and 750-watt models, but specifically for the 1STPLAYER SFX 750W, it will operate silently under loads up to 300 watts.
Additionally, since this power supply is relatively well-known and not new (released in 2022), its teardown and exact specifications are already publicly available. It features a half-bridge converter, numerous heatsinks, inrush current protection, Nippon Chemi-Con capacitors, and MOSFETs from Oriental Semiconductor.
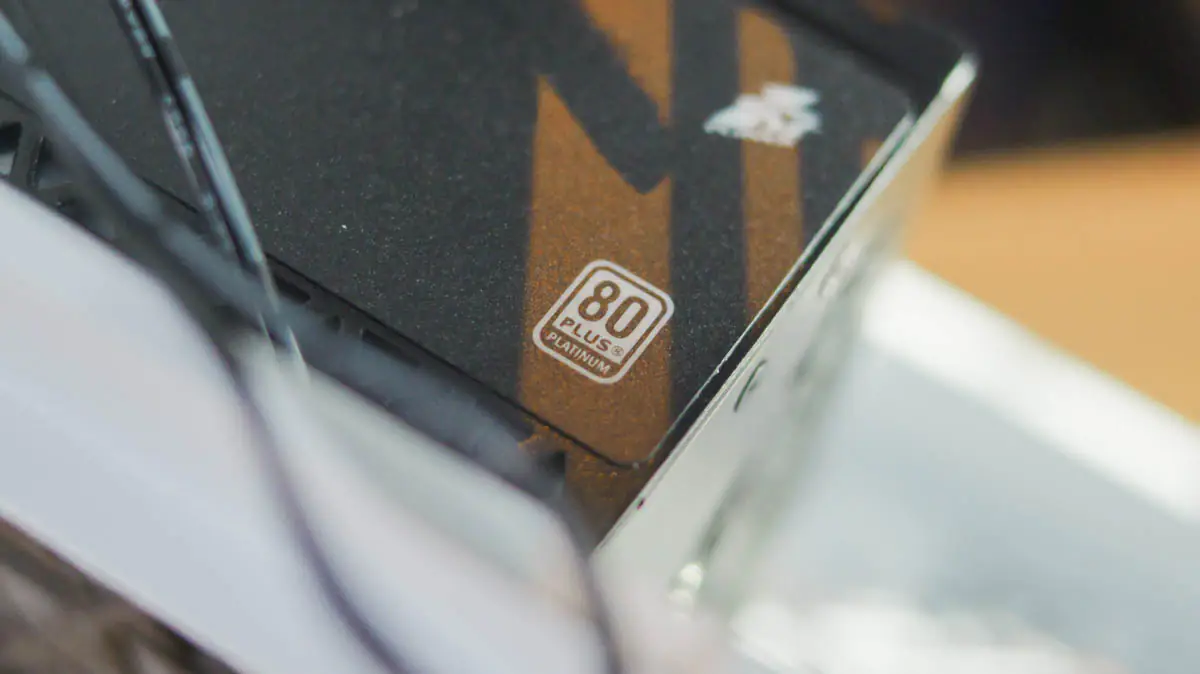
So, it’s important not to dismiss the 1STPLAYER SFX 750W just because the manufacturer specializes in budget components. It’s clear that if the power supply has received an 80Plus Platinum certification, the components inside cannot be of poor quality. Plus, it comes with a 7-year warranty.
Package contents
Usually, I discuss the packaging at the beginning of a review, but with the 1stPlayer UN1, I’m making an exception because the included components aren’t visible until you fully disassemble the case.
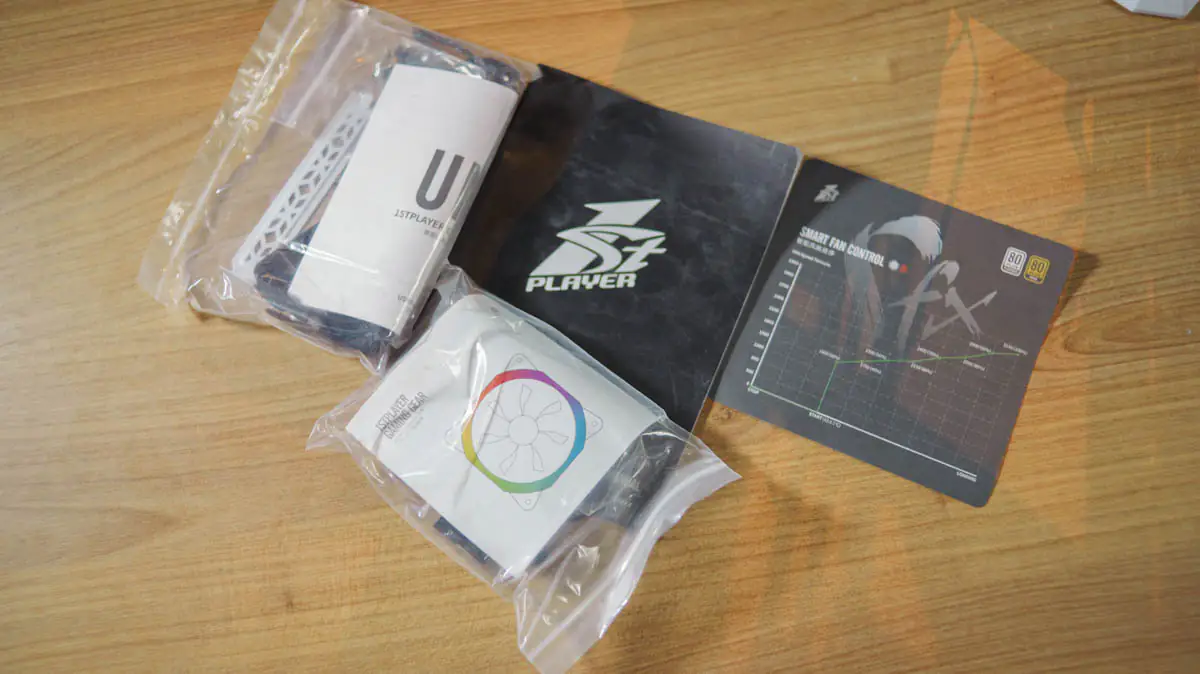
Above the power supply, there are several boxes and some documentation, including the manuals for both the case and the power supply. The larger black box contains the cables for the power supply and other accessories. The smaller box includes PCIe slot covers, cable ties, and a separate RGB hub.
RGB and fans
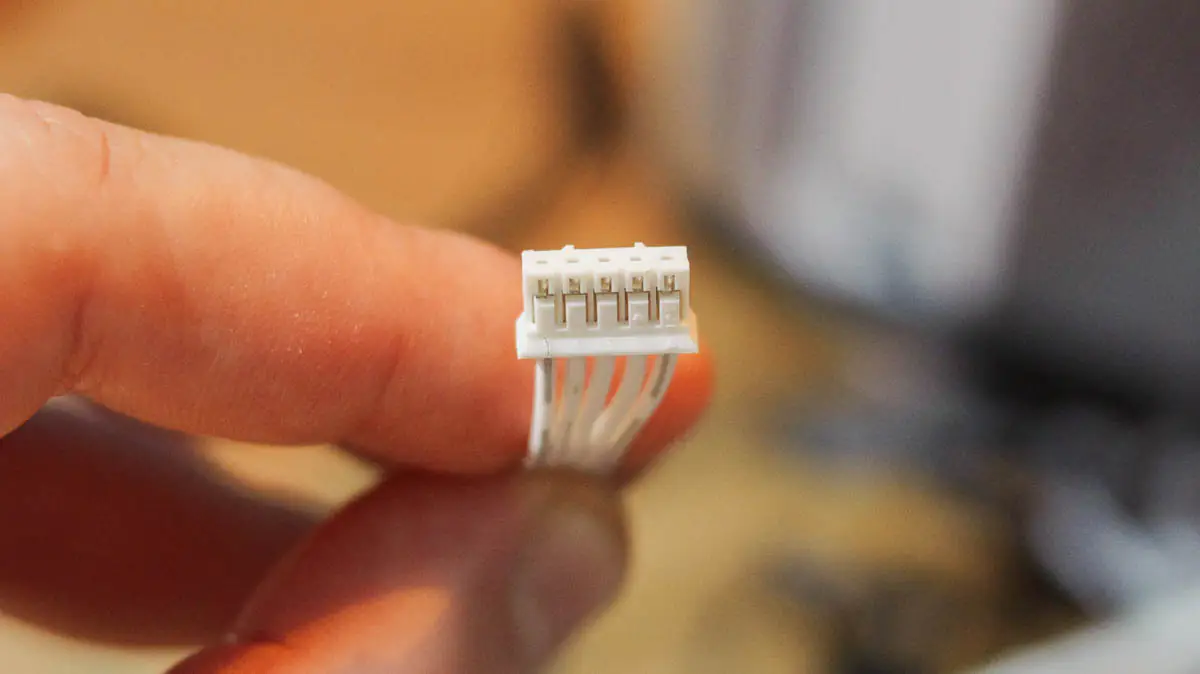
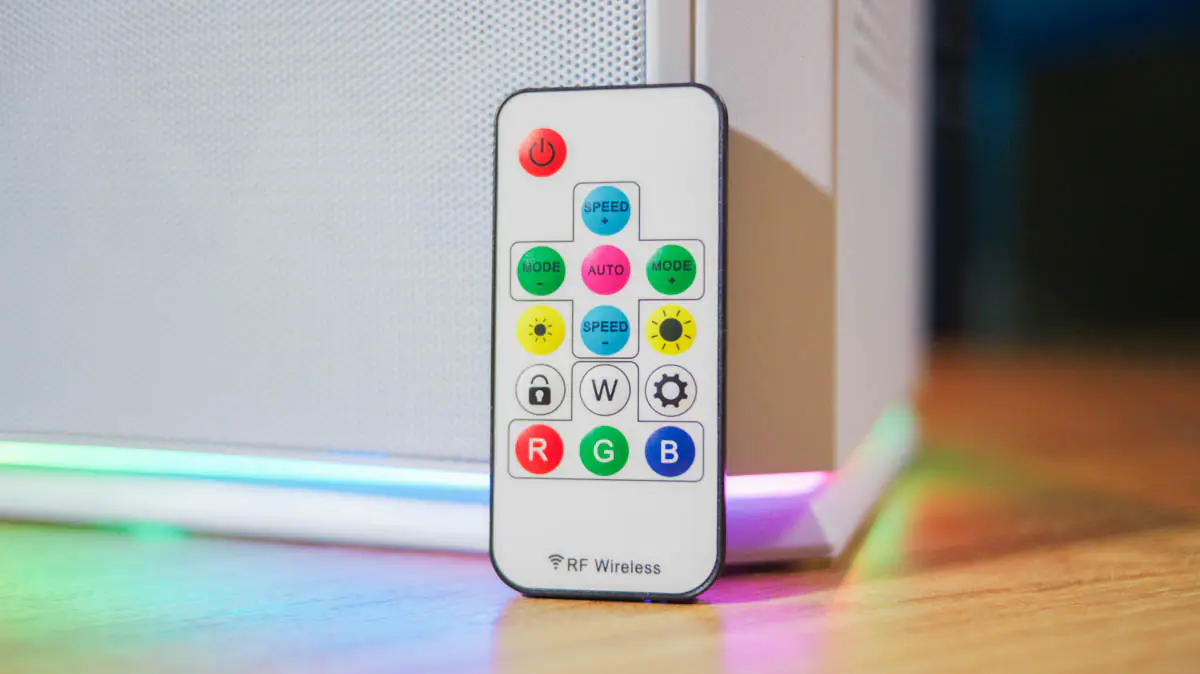
The hub does not come pre-connected to the 1stPlayer UN1 by default, and I will detail the connection process separately. I should note that while the hub supports up to 8 fans and two LED strips, the connectors for the fans are almost proprietary 5-pin connectors.
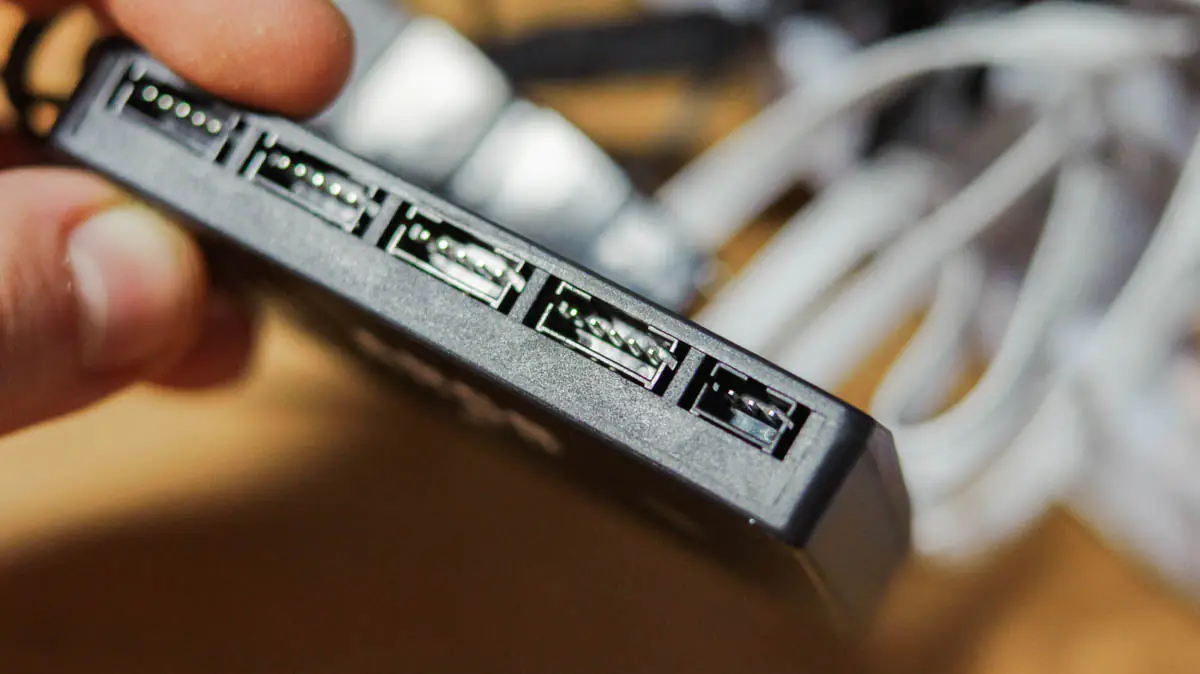
As I understand it, this is a necessary decision because the nearly proprietary connector combines both power and RGB, making assembly easier in compact builds where fewer cables are preferable. The hub itself supports control via a 3-pin ARGB connector and comes with an infrared remote.
I should note that in addition to the fans, the area around the base also has lighting. It’s solid, but by default, it isn’t controlled alongside the fan lighting. The speed of the 1stPlayer F2-W is also not adjustable, even though the remote has buttons for this function.
There’s also a fan at the bottom, which lacks ARGB and is also 120mm, but access to it is quite limited. Technically, there is access, but it’s complicated because the bottom panel of the 1stPlayer UN1 cannot be unscrewed—it is held in place by several tabs, which can only be accessed from inside the case.
Assembly recommendations
First of all, I note that I still found 1stPlayer’s recommendations for PSU sizes – as expected, they depend on other components. Specifically, on the motherboard, because the case supports two combinations, M-ATX + SFX and ITX + ATX (140mm).
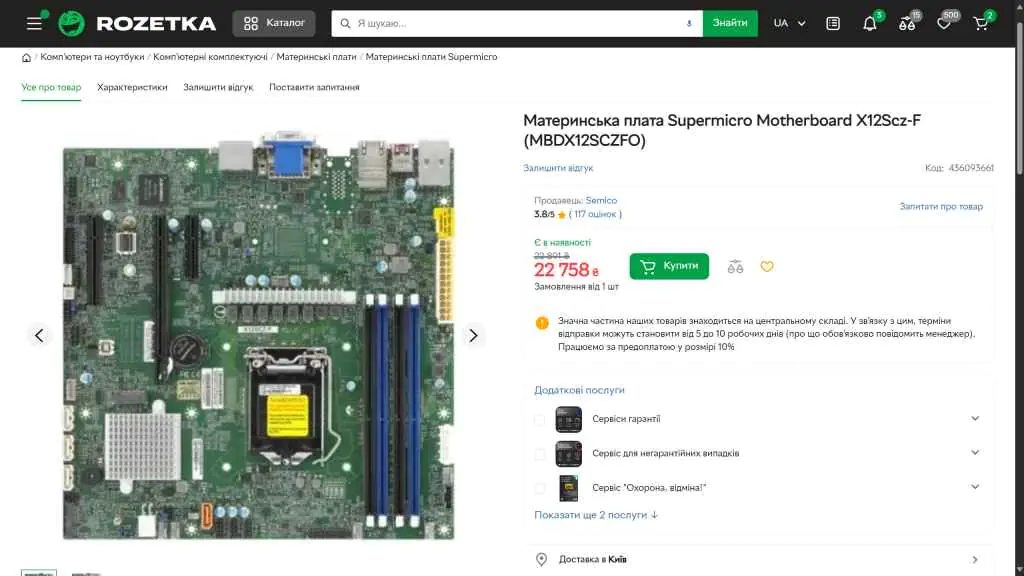
The most expensive ITX motherboard (or mini-ITX; they’re the same) turned out to be the Asus ROG STRIX Z790 Gaming Wi-Fi. For the M-ATX (or microATX) format, the most expensive model is the Asus TUF GAMING B650M-PLUS. However, it’s worth noting that there are many server models in the M-ATX category, such as the Supermicro X12Scz-F with the LGA1200 socket.
The airflow inside the case will be unusual. Conventionally, air typically rises from the bottom to the top, as seen in older cases like the Apple Mac Pro 2013 or the relatively new ASUS ProArt PA90. However, in this case, the fans are also installed at the front and the back. If you use liquid cooling, the airflow will move vertically, from back to front, and from left to right as well.
In other words, the airflow will be constant but entirely chaotic. Or conversely, it will be chaotic yet consistent. This can be addressed by repositioning the fans, which I will discuss later. The chaos is further compounded by the fact that the fans do not have solid frames—they are perforated, which aids in air intake from the sides but reduces the directionality of the airflow.
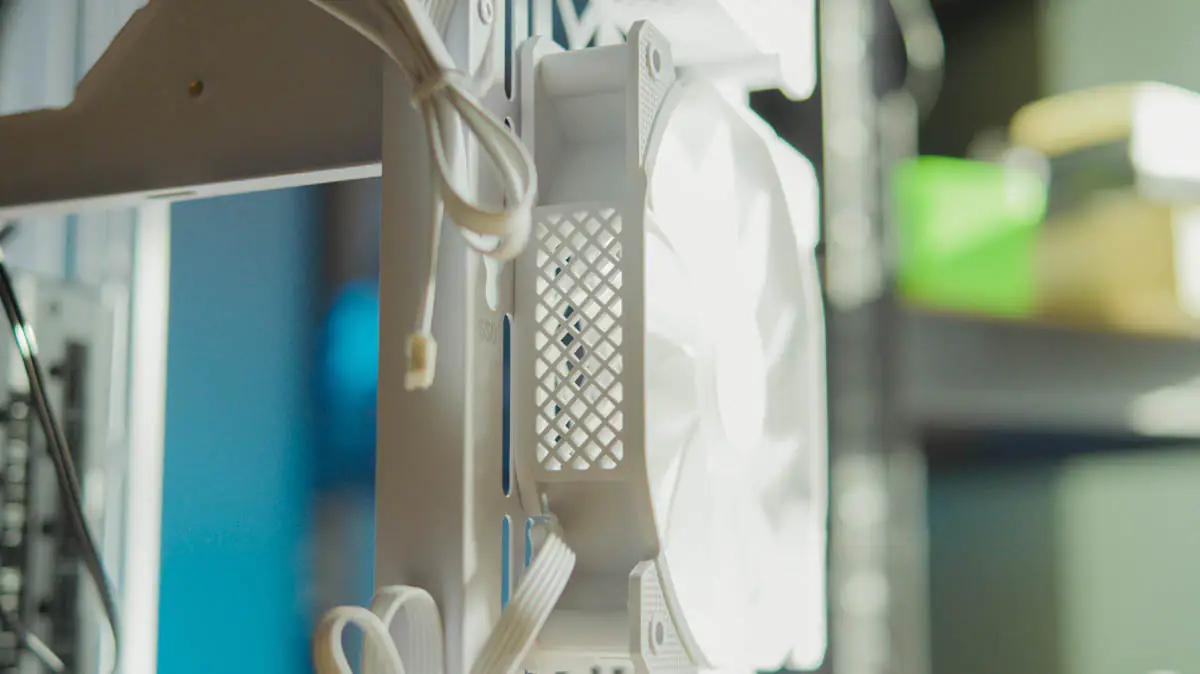
Replacing the fans will require a complete disassembly of the case, including removing the power supply, as the screws are accessible only from the inside and at very awkward angles. I can almost guarantee that you will want to replace the fans because in all the places where the 1stPlayer F2-W is installed, there are mounting holes for at least three 140mm models. However, to install them, you will need to change ALL the fans, along with the hub, which—just a reminder—is proprietary.
Also, don’t forget that the power supply is deep inside the case. It’s located in the center, not at the top where the power cable runs. Additionally, there is NO access to the power switch until you remove at least two panels, and to do that, you need to unplug the power cable.
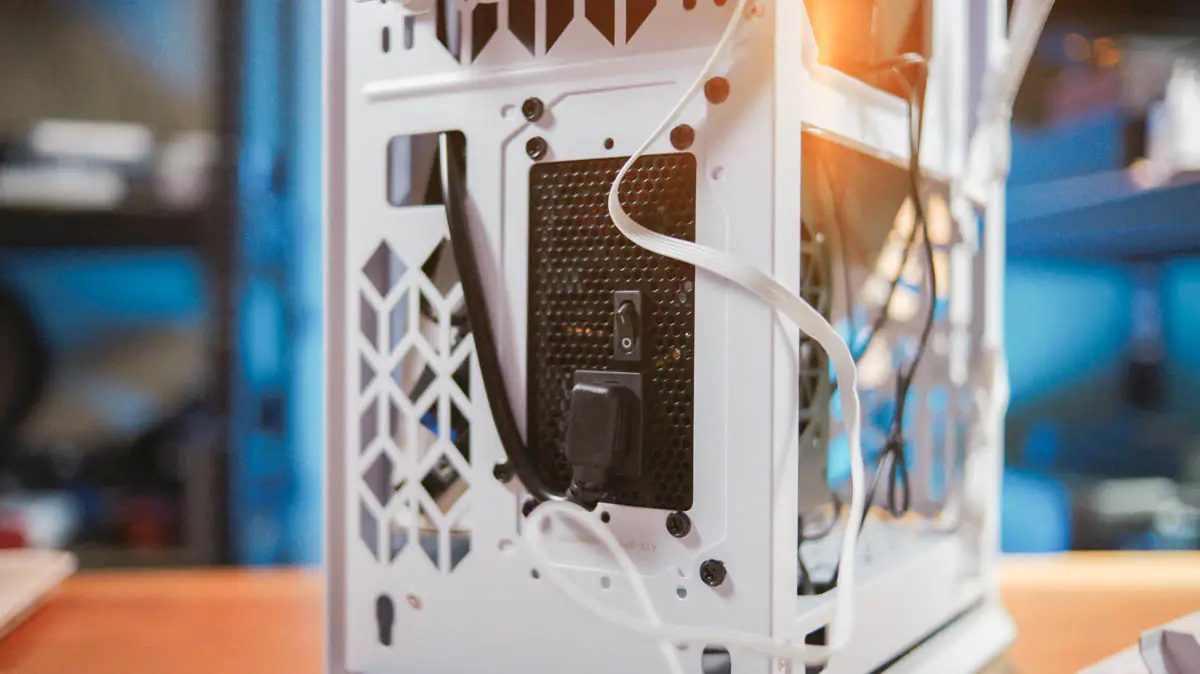
So, don’t forget to switch the toggle ahead of time, and double-check before the final assembly. It’s even advisable to run the PC without the panels installed—though this recommendation applies to any build of any PC.
Conclusions
Building your dream PC in this case will not be easy—just like in any similarly sized case. You might not remember the times when cases came with a pre-installed power supply, but in the case of the 1stPlayer UN1, this can be quite beneficial.
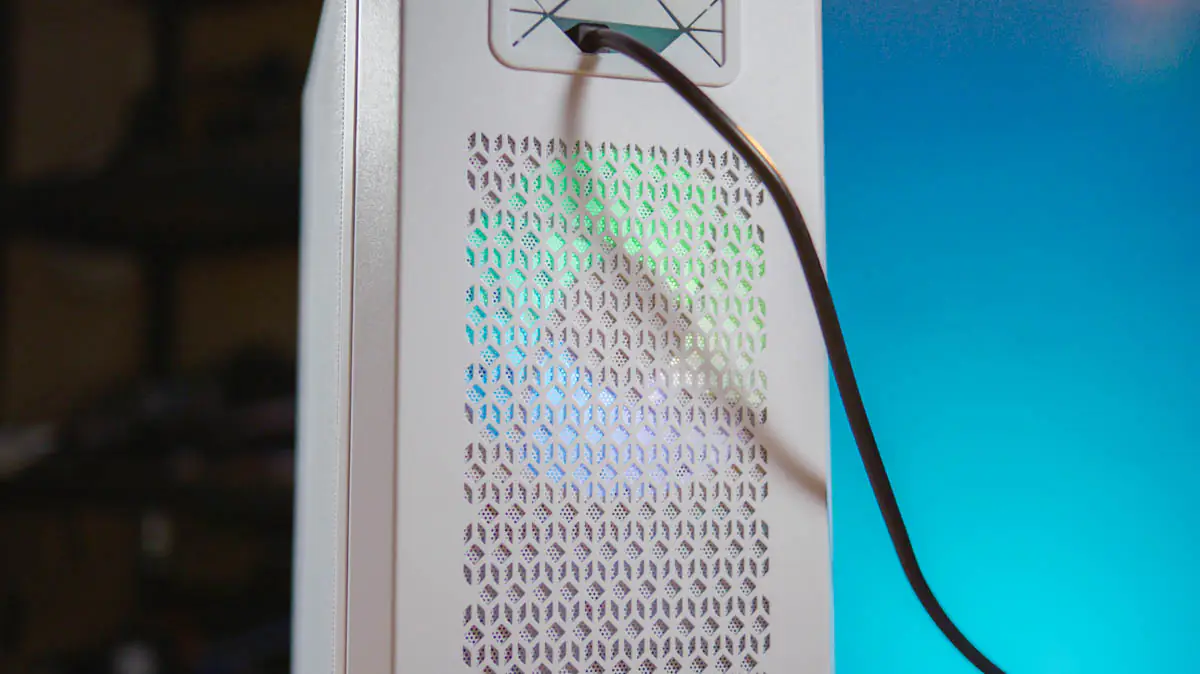
But I guarantee that any PC built in the 1stPlayer UN1 case will be unique, even among other distinctive builds from different manufacturers. For this reason alone, I highly recommend it.
Read also:
- Review of the Prologix PLP61024 Office All-in-One: A Business Machine
- What the AMD Ryzen 5 7600’s Integrated Graphics Can Do
- Kingston XS1000R 2TB External SSD Review


