
© ROOT-NATION.com - Use of content is permitted with a backlink.
This article will be divided into three parts. First, I’ll share how I managed to brick my BIOS – a story filled with suspense, echoes of the past, and a surprisingly happy ending. Next, I’ll explain what BIOS Flashback is and why having this feature on your motherboard – whether it’s an ASUS ROG Strix B850-E Gaming WiFi or any other model – is incredibly important. Finally, I’ll go over two other useful ASUS motherboard features and how to make the most of them.

TABLE OF CONTENTS:
Video about BIOS Flashback (on the example of ASUS)
How it all began
I’ll start by showing what actually happened. The power system in my apartment – where I have my studio – seems completely cursed. It’s as if the ghosts of communism are still lingering, determined to sabotage these bourgeois PCs. In the video above, you can hear the sound of me powering on the test bench and the sudden shift in electrical load.
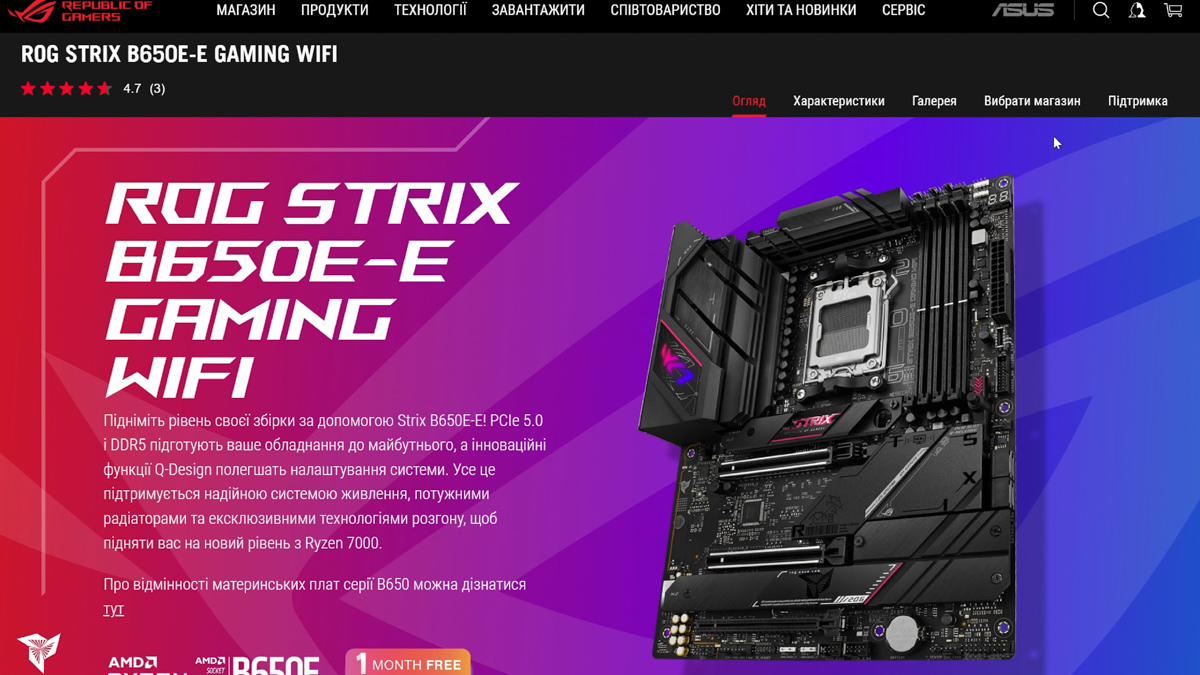
All three of my backup power devices registered a surge – Prologix 1200 with a battery, EcoFlow River 2, and even the EnerGenie Desktop 1000VA, which was powering the test bench. However, when I decided to update the BIOS on the ASUS B650E-E Gaming WiFi, the setup didn’t even have a GPU installed. In other words, the total power draw of the test bench was no more than 70W at peak.
In other words, I wasn’t overloading the UPS directly. Even if I had, the voltage spike affected outlets that weren’t even connected to the test bench. And about once a month – if I’m lucky – when I try to power on the test bench, the UPS trips due to an overload and shuts down. Fortunately, this almost never happens during a reboot – only when powering it on after a 2-3 minute wait.
Pay attention to the word “almost.” That’s what got me. When updating the BIOS, the PC reboots at least once – and that was enough to brick the BIOS. But now, onto the good news.
BIOS Flashback
The BIOS Flashback feature is commonly found on mid-to-high-end motherboards, including the ASUS ROG Strix B650E-E Gaming WiFi and ASUS ROG Strix B850-E Gaming WiFi. Its main purpose is to allow users to update or restore the BIOS/UEFI without needing to access the graphical interface – or even having a CPU installed in the socket. You don’t even need to power on the PC.
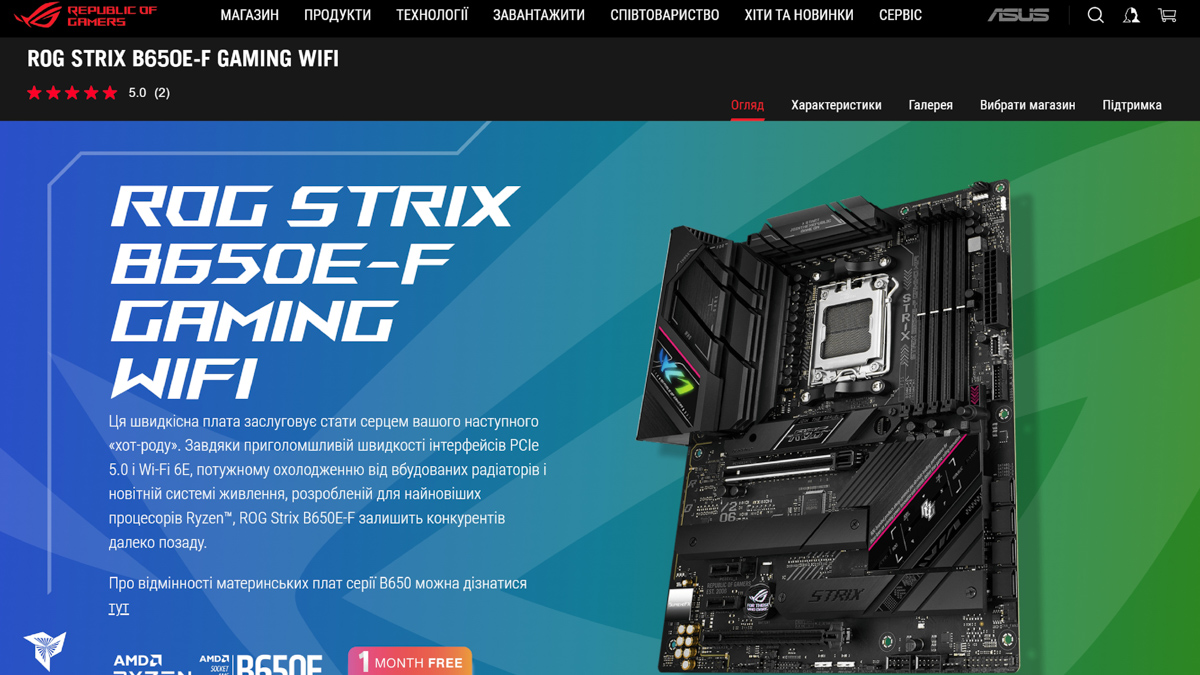
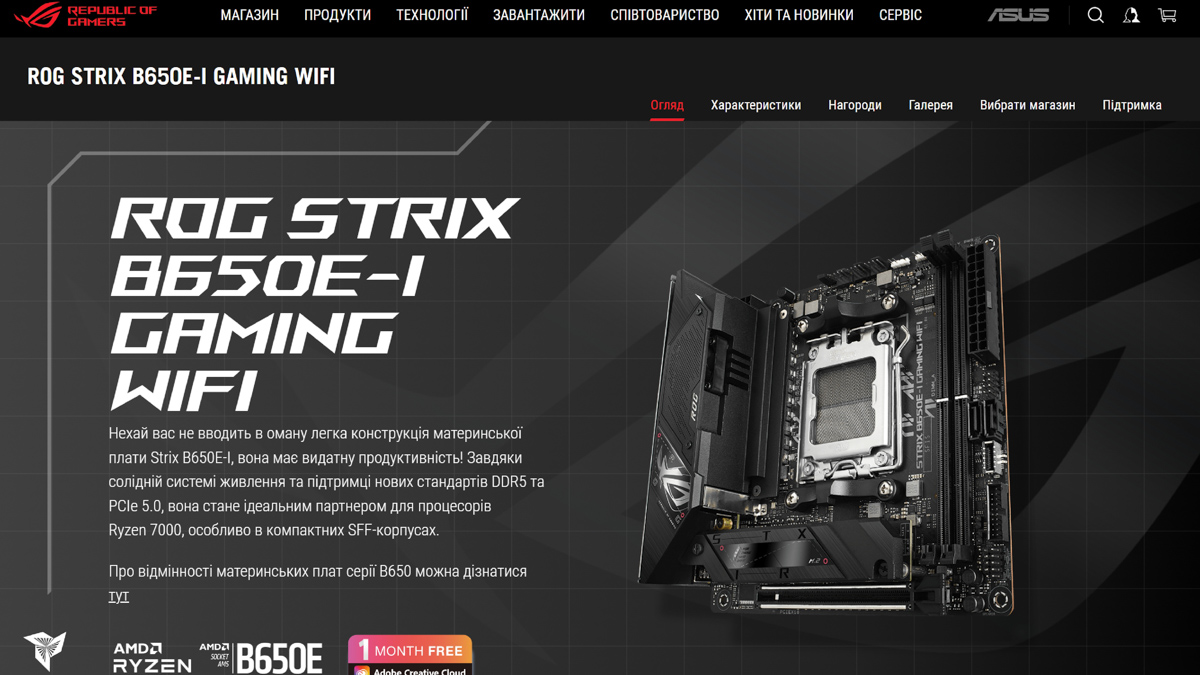
Here’s how the process works. It’s fairly straightforward but comes with a few important details. You’ll need a USB drive formatted to FAT32 (at least 8GB), an internet connection, and access to the support page for your specific motherboard model. For example, I was working with the ROG Strix B650E-E Gaming WiFi, which nearly failed during the update. ASUS also offers the B650E-F Gaming WiFi and B650E-I Gaming WiFi, but these models are not interchangeable when it comes to BIOS files. That’s why it’s crucial to visit the official support page for your exact motherboard model, verify the name, and download the correct BIOS update from the Drivers & Utility section.
On this page, you’ll notice a note stating that in order to use BIOS Flashback, you’ll need to rename the BIOS file using the BIOSRenamer tool. This tool is included in the same archive as the BIOS file.
Once you’ve downloaded the archive, extract it and open the folder. Rename the BIOS file as instructed. Next, grab a USB drive. It needs to be formatted in FAT32 – not NTFS or exFAT. The size doesn’t matter much, but an 8GB drive should be sufficient. I used a Goodram UME3 128GB (review coming soon). Even USB 2.0 speeds are fine here; speed isn’t critical for this process. After that, take the renamed BIOS file and move it to the root directory of the USB drive. Don’t copy the entire folder – just the required file needs to go onto the drive.
Next, without powering on the system, connect the power supply to the motherboard and processor. Then, insert the USB drive into the dedicated port on the motherboard (usually clearly marked). After that, turn on the power supply. Press and hold the BIOS Flashback button for 3 seconds. The indicator will blink three times, then start flashing continuously. It will continue flashing for about 2 to 10 minutes until the BIOS update is complete. Once the process finishes, the indicator light will turn off.
Important: If the indicator flashes five times and then stays on solid, something went wrong – you made an error somewhere. Also, do not touch the motherboard power, do not touch the power supply, and do not use any BIOS reset tools during the process. Fortunately, as far as I know, if the update fails, you can try again with the same BIOS version.
Clear CMOS
As promised, here’s a look at two more features of ASUS motherboards. These aren’t exactly exclusive features (like BIOS Flashback), but they’re still important to know and use correctly, so you don’t make things worse. First up is the Clear CMOS button. I know what you’re thinking – this is a well-known feature, right? If you’ve ever built a PC, you’ve probably removed the battery. But not exactly. Yes, if you need to reset the BIOS, you can remove the battery for 10 seconds or short the appropriate contacts on the motherboard, which is essentially what the Clear CMOS button does.
But there are two important points to keep in mind. First, don’t forget to disconnect the power supply cable. If you apply power to the motherboard while resetting the BIOS settings, you could cause issues with the BIOS. This also applies when using the Clear CMOS button. Turn off the power supply, unplug the cable, press the button (or hold it for 5-10 seconds, if that’s more comfortable for you), and then reconnect everything once you’re done.
The second point is why the button is worth it. If you have a particularly “exciting” PC with lots of components constantly being swapped in and out, like mine, you’ll either have to keep putting the PC on the table or bend over with a screwdriver and flashlight to short those tricky contacts. With the button, resetting the BIOS is literally faster and easier than inserting a USB flash drive. After all, with USB drives, you might mix up the orientation, which you don’t have to worry about with the button.
Q-Code
One more feature worth remembering is the Q-Code display. If something goes wrong, if your BIOS gets stuck on a certain code, or if the codes are switching but Windows isn’t loading, head to the official motherboard page. Go to the “Manuals & Documentation” section and find the full Manual, not the Quick Start Guide – it’s the detailed manual that will have the information you need.
With the PDF manual open, press Control-F in Windows to open the search function, type “Q-code,” and locate the “Q-Code Table.” Alternatively, you can search directly for “Q-Code Table.” Once you find the error code, you’ll know what to do next. If you read the explanation of the error and still don’t understand it, that’s okay. Just enter the error code into Google, and you’ll almost certainly find solutions to similar issues.
There are two important things to keep in mind here. First, Q-Code lists are NOT universal. Even if you have a B850-E Gaming WiFi and only find a list for the B650E-E Gaming WiFi, it should still work, but it’s best to find the correct manual and the right list. Second, before jumping into the internet to search for Q-Code explanations, simply reset the BIOS first.
This is actually a universal recommendation. 99% of issues with a working system can be resolved by restarting – there’s no shame in that. And 99% of problems with a system that won’t boot can be fixed by resetting the BIOS. You already know the reset procedure, and these rules apply to the ASUS ROG Strix B850-E Gaming WiFi, the B650, or any other model.
Instead of summary
If you’re using the same motherboard consistently, you can install the BIOS file for that specific motherboard onto any recovery USB stick, as it won’t interfere with other files. The key is to make sure the file is in the correct location, properly named, and that the USB stick is formatted as FAT32. For example, with my ASUS ROG Strix B850-E Gaming WiFi, I created a BIOS Flashback file once, put it on the USB stick, and now the BIOS will never fail. The same applies to the ASUS ROG Strix B650E-E Gaming WiFi. Pretty convenient, right? Definitely.
Also, as promised, I am providing a comprehensive list of documentation:
- Links to manuals and drivers for ASUS ROG Strix B650E-E Gaming WiFi
- Manual and Q-Code for ASUS ROG Strix B650E-E Gaming WiFi
- How to use BIOS Flashback?
Read also:
- ASUS Zenbook A14 (UX3407) Review: Ultrabook on ARM Сhip
- Thoughts on ASUS AI Advisor: Capabilities and Practical Use
- Review of ASUS ZenScreen Touch MB16AHT Portable Monitor