© ROOT-NATION.com - Use of content is permitted with a backlink.
You might be surprised, but the presence of monitors like the ASUS ProArt PA278CFRV on the market is actually a side effect… of the AMD Ryzen processors’ debut. The first generation of Ryzen shattered the paradigm that “four cores and eight threads are enough for everyone.” With 8-core monsters becoming mainstream, the entry barrier for video editors and content creators dropped significantly.

And the growing popularity in this field sparked demand for suitable equipment across the board. As a result, monitors like the ASUS ProArt PA278CFRV have become almost mainstream. I say “almost” because it’s far from a budget model. But for those who make a living with color correction or professional-level video editing, that’s not going to be an issue.
Market position and price
The ASUS ProArt PA278CFRV costs around $520 or €480, and context here is key. This isn’t a gaming model, nor an entry-level option. But even within its own lineup, this model sits right in the middle. So, it’s already quite a premium option for designers, modelers, or video bloggers—which means it’s a bit out of my league too.

However, it’s not quite high-end enough for a colorist working in the film industry or for glossy magazine designers whose photos are printed on a 100-meter scale. The ASUS ProArt PA278CFRV falls short for these tasks not due to insufficient color accuracy or dE (delta E) values.

That’s because, for these tasks, you simply can’t work with a monitor that’s even slightly multipurpose. But that’s a topic worth diving into another time.
Package contents
The ASUS ProArt PA278CFRV package includes four cables—power, Type-C, HDMI, and DisplayPort—along with numerous calibration certificates, a three-section stand, and, of course, the monitor itself. The calibration certificates list all the essential specs, including sRGB and DCI-P3 coverage, as well as the dE (Delta E) accuracy.
One of the main features of ProArt monitors is the factory Calman calibration. Right out of the box, this ensures a dE (Delta E) <0.5 for sRGB and dE <1.5 for DCI-P3. For reference, precise color work requires a dE below 2, so this level of calibration is a strong advantage for color-critical work right from the start.

And not every monitor can achieve a value close to 1, which is why these calibration standards are impressive. However, as a reminder, monitors of this caliber still need regular recalibration—ideally once every couple of years—to maintain their accuracy.
Exterior
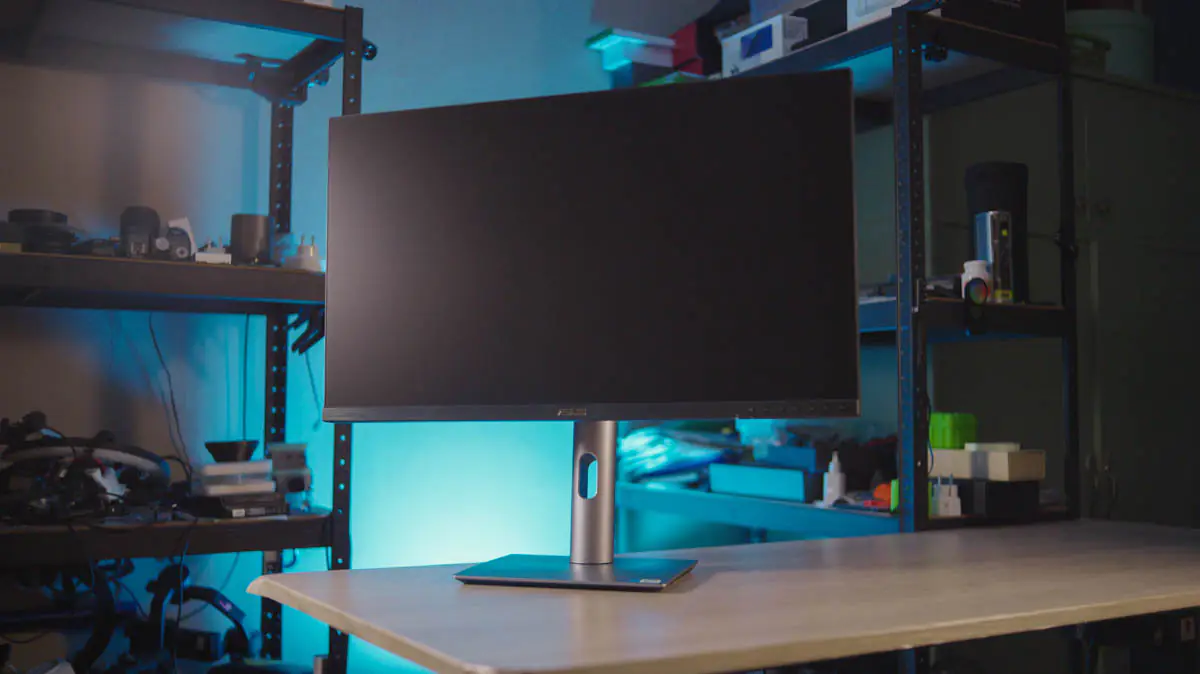
I’ll start the review of the ASUS ProArt PA278CFRV design with the stand. I was surprised by how elegantly it looks.

The stand, for instance, consists of three separate sections that allow the monitor to adjust in height by 130 mm, swivel 90° to the side, tilt left and right by 30°, and tilt forward by 5° and backward by 23°.

Moreover, the stand has a premium appearance and is almost seamless. There are also markings for balancing, and in the center, there’s a hole for cable management. However, I encountered a detail I’ve never seen before: not all ferrite cores, such as those on HDMI cables, can fit through it.

When I tried to test it with the 10-meter ATCOM HDMI cable, the ferrite core turned out to be too thick, causing the cable to get stuck. The HDMI cable included with the monitor also has a ferrite core, but it’s the right thickness, so it passed through without any issues. Considering that the 10-meter cable was the only HDMI cable I had with a ferrite core, this shouldn’t be a problem for you, but it’s worth keeping in mind.

Overall, I can’t call the ASUS ProArt PA278CFRV borderless or futuristic; however, it is elegant and fits perfectly into the professional interior of a designer or colorist. The frame at the bottom is the most interesting part, as it contains the logo, a set of control buttons, and a small joystick.
Additionally, I should mention that the stand can be removed by pressing a button located at the center underneath the leg.

It also supports VESA 100×100 mounting, with dimensions including the stand of 61.33 × 53.67 × 19.72 cm and a weight of 6.6 kg.

ASUS ProArt PA278CFRV connectors
The peripherals are located on the lower edge. On the right side, you’ll find a Kensington lock, a C14 input, and the power switch.

To the left, there’s a combined audio jack, HDMI 2.0, two DisplayPort 1.4 ports with Daisy Chain support, as well as a Type-C port that supports power delivery up to 96W and DP Alt Mode, along with separate USB Type-C and Type-A ports. Additionally, there are two more USB Type-A ports located on the left edge.

This means you can connect a laptop, such as the ASUS ZenBook S 14, to the monitor and receive not only power and high-quality image transmission but also a full hub with multiple USB Type-A ports. There are also two speakers, each rated at 2 watts.

Specifications
The panel of the ASUS ProArt PA278CFRV is 27 inches, IPS, with an aspect ratio of 16:9, a resolution of 2560×1440, and a refresh rate of 100 Hz. And if you thought that a high refresh rate is only found in gaming models, that’s not the case. Why? Because even just using a computer is more enjoyable with a higher frame rate.

Especially when it comes to work. That’s why, for instance, the refresh rate in the vast majority of modern smartphones is either 90 Hz or 120 Hz, even though very few of the new models are designed specifically for gaming.
Read also: Review of the ASUS Zenbook S 14 UX5406SA with Intel Core Ultra 7 258V
As you might have guessed, the main advantage of this particular panel is its image quality. The maximum contrast is 3000:1, with a typical contrast of 1000:1 and a response time of 5 ms. It supports HDR10, meaning the brightness exceeds 400 nits. The viewing angles are 178 degrees. There’s also support for LuxPixel technology, which minimizes reflections, as well as Flicker-free technology.

There’s even a ambient light sensor that automatically adjusts the display brightness according to the surrounding environment. I recommend turning it off for professional work, but its presence is still a nice feature.
Setting up ASUS ProArt PA278CFRV
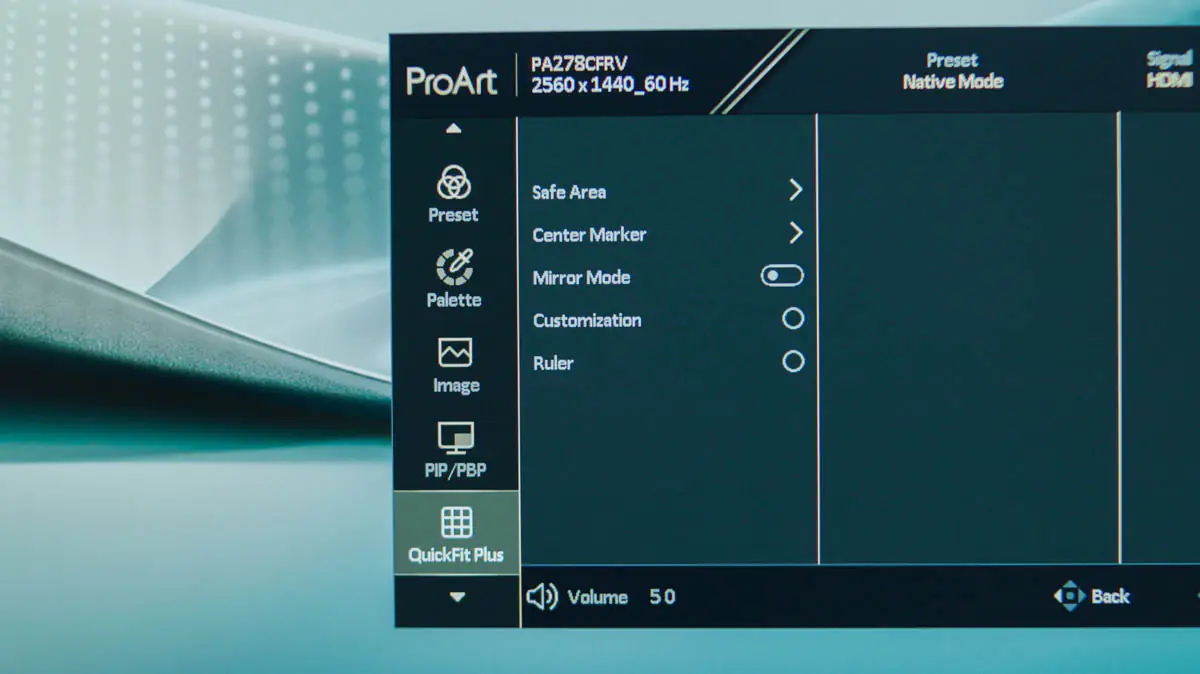
You have the option to adjust settings after powering on the monitor. You can control it using one of several buttons, by pressing the joystick, or through the proprietary DisplayWidget Center software.

The ASUS ProArt PA278CFRV offers around ten presets for color calibration, including sRGB, Adobe RGB, Rec.2020, DCI-P3, HDR, DICOM, and several custom options.

It supports gamma settings of 1.8, 2.0, 2.2, 2.4, and 2.6, along with ProArt Palette adjustments, color temperature settings, HDCP support, ProArt Chroma Tune, and Low Blue Light features. There are fine-tuning options for the workspace and aspect ratio, as well as three Picture-in-Picture (PiP) options.

I’d like to highlight the energy consumption level positively—the ASUS ProArt PA278CFRV is certified with an E class rating, meaning it consumes 22 kWh per 1,000 hours, and in HDR mode, it uses up to 33 kWh per 1,000 hours. The main page of the monitor indicates an energy consumption figure of up to 16 watts.
Operating experience
Any professional monitor is an investment that doesn’t mean much on its own. Yes, you might have a dE<1, but if you’re working under a bright light fixture with cheap bulbs that have a completely random color temperature, you won’t be able to edit colors accurately. This became particularly clear when I tested the ASUS ProArt PA278CFRV, so let me explain what needs to be done.
If the panel or your eyes are exposed to direct sunlight, you won’t be able to perform precise color correction. This applies not only to color but also to sound—the more neutral it is, the more people will be able to hear your audio as closely as you intended it to be.

Therefore, in order not to waste the quality of the panel:
- Check the quality of your ambient lighting. Replace any questionable bulbs, or use LED panels with a high CRI rating. For example, the Yongnuo YN-300 III is a great option. This panel can also operate via USB with DC adapters, making it reliable during blackouts without any issues.
- Isolate all unnecessary light sources. You don’t need sunlight while working with color—invest in thick curtains or cover the windows with anything opaque. Even foil will work. Lastly, use the highest quality HDMI cables possible; the one included with the monitor will suffice. Also, check what mode the monitor is operating in—not just its resolution and refresh rate, but also the color depth.

I was able to test the monitor for a short time, but overall, I was pleased with it. Both gaming and editing were enjoyable, and most importantly, I appreciated the low energy consumption, which is rare for monitors with high image quality. After all, color quality depends on brightness, and if the monitor is calibrated close to maximum brightness, even the energy-saving mode can reduce color accuracy.
Conclusions
This is a sweet spot for professionals who work with color and earn enough to invest in a monitor that costs as much as two gaming ones. However, the ASUS ProArt PA278CFRV also has unique advantages in its class, including detailed out-of-the-box calibration and impressive features for working with laptops. While it may not be the flagship in its category, I highly recommend the ASUS ProArt PA278CFRV!
Read also:
- ASUS ROG Strix LC III 360 ARGB LCD Review
- ASUS Vivobook S 15 S5507 with Snapdragon X review: Powerful, Quiet, and Long-Lasting
- ASUS ROG Strix LC III 360 ARGB LCD Review


I bought this monitor and am wondering why in my display settings it says it is 8-bit, while in the photo of your settings it says 10-bit. Is there something in my computer I need to change to get 10-bit? Thanks
What about your connection? VGA card? Do they support 10bit in Your resolution?
If they are – you probably need to go to Display Settings > Advanced Display > Display Adapter Properties, if any option is available, it must be either there, or on the road there.
Thanks for the quick reply. I work on a Mac but can’t find a way to see monitor bit-depth in macOS, so I hooked the monitor up to a friend’s PC via HDMI. Maybe I need a better/newer HDMI cable? I will try that in couple of days when I am with the monitor again
Sadly, I have no experience with MacOS, so won’t help You there.
But the one thing I will say is – HDMI is pretty “weak” in terms of color stuff. The different versions are weak in different ways. If You can – try DisplayPort connection. Your friend’s PC with 99% will have the ability to do so. And this monitor has DisplayPort cable in the box.